ML-assisted labelling
Machine learning-asisted labelling is the process of using a trained machine learning model to generate labels for the dataset automatically. ML-assisted labelling saves a lot of time by improving the accuracy and speeding up the labelling process.
ML asisted labelling involves the following stages -
- Label a subset of dataset manually
- Train the machine learning model
- Use the trained model to label the additional dataset
- Evaluate and fine-tune the machine learning model
- Iterate
You can start using ML-assisted labelling by first adding labels to a subset of your dataset manually and then assigning the dataset to the train and the validation set. After distributing the data, train the initial machine learning model on your manually labeled data. Once the model is trained, you can use the model to start labelling the remaining dataset. The next step is to inspect and correct the new labels generated by the model, in case the model misses to label some events. After evaluating the performance of the model, you can either use the same machine learning model to label more dataset or train a new model by adding more data to the 'train' and 'validation' set. As you keep iterating, over the time the model will accurately label more and more data automatically.
ML-assisted labelling is supported for models that are trained in IMAGIMOB Studio only.
Pre-requisites:
To make optimize use of ML-assisted labelling, consider the following -
-
Organize most of your sessions so that each session only contains instances of one unique class. For instance, sessions should contains either the class 'up' or 'down'. You should not mix same classes in same sessions, except for in a few sessions that will be used testing. In case, you do not organise your sessions as recommended, you can still use this feature, but you will need to label more data manually before you see good results.
-
Follow the same principle to collect and import your data before using ML-assisted labelling. This way to organise the sessions will also help with manual labelling as it will be clear which class is labelled in a particular session.
-
Keep descriptive names for the folders before importing data into the IMAGIMOB Studio, so that the name of the sessions are easy to interpret. For instance, organise your data in the 'background' or 'up' or 'down' folders, that helps to know which class is labelled in a session.
-
Locate all the data in your project which is not labelled to the 'Unassigned set'.
-
Label your data with one class at a time. For instance, start labelling the class down on the subset of dataset for all the events and then begin with the class up.
Using ML-assisted labelling
To use ML-assisted labelling, follow the steps:
-
Navigate to your project directory and double-click the project file (.improj).
The project file opens in a new tab.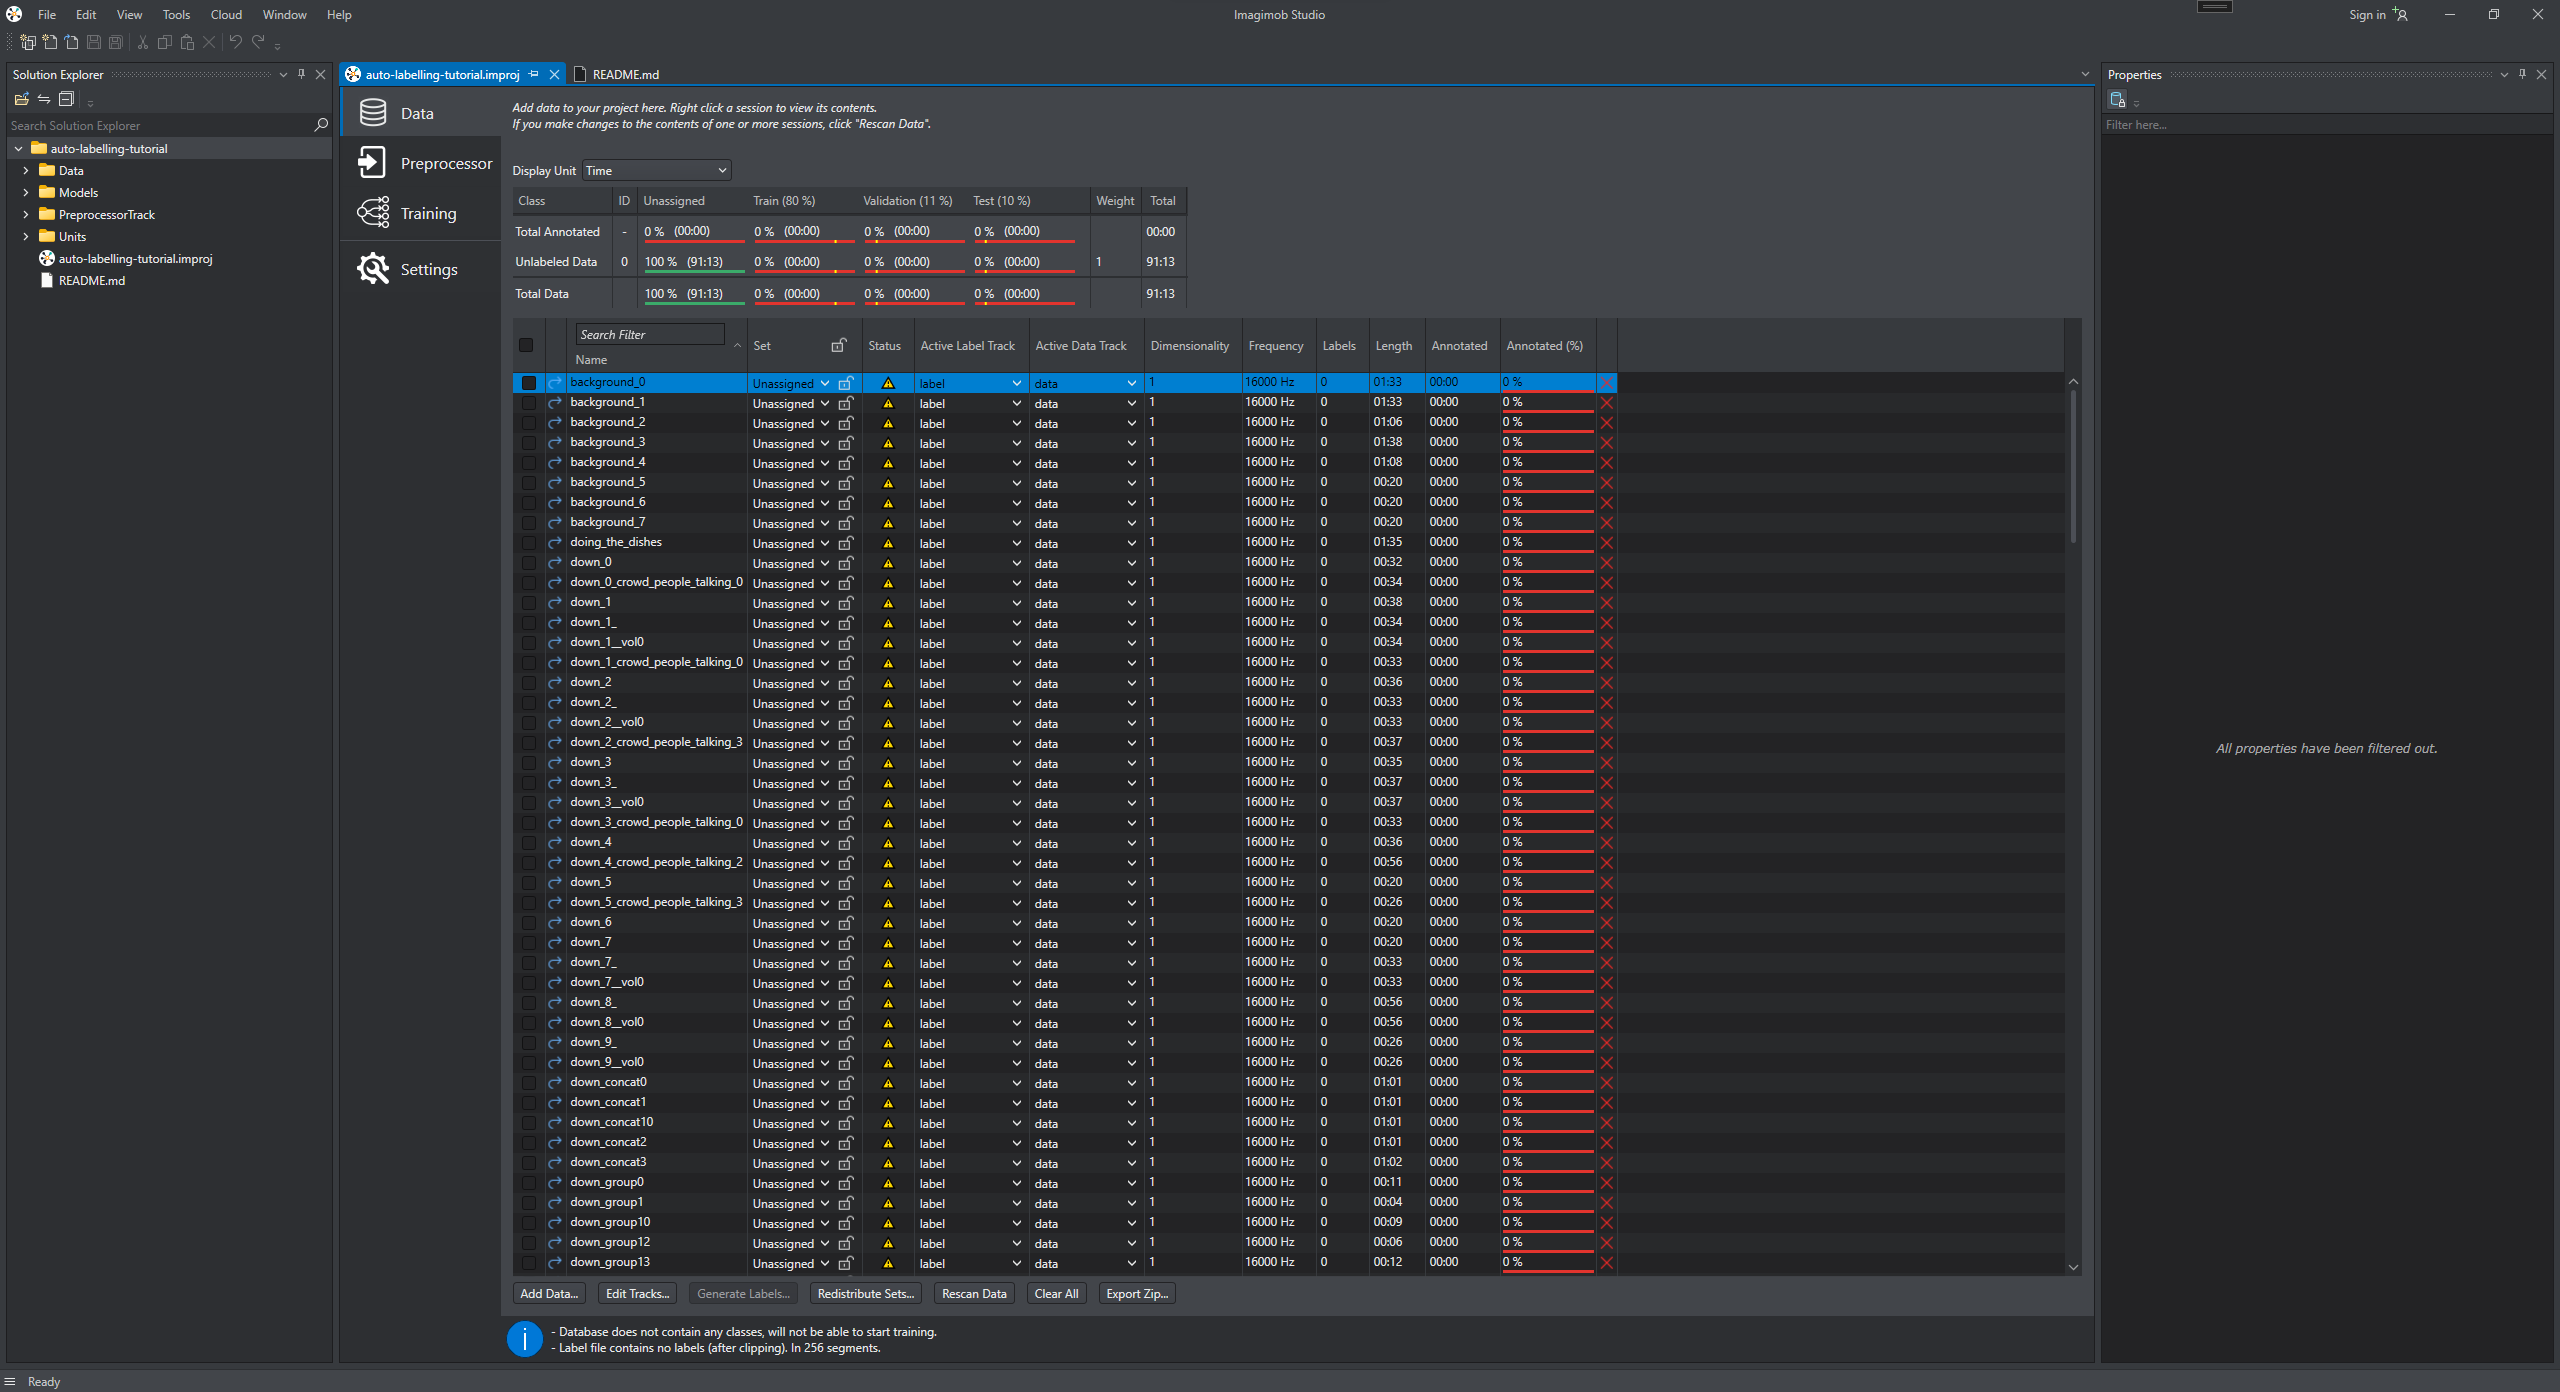
-
Decide a class to start labelling, for instance, lets start with labelling the class down.
-
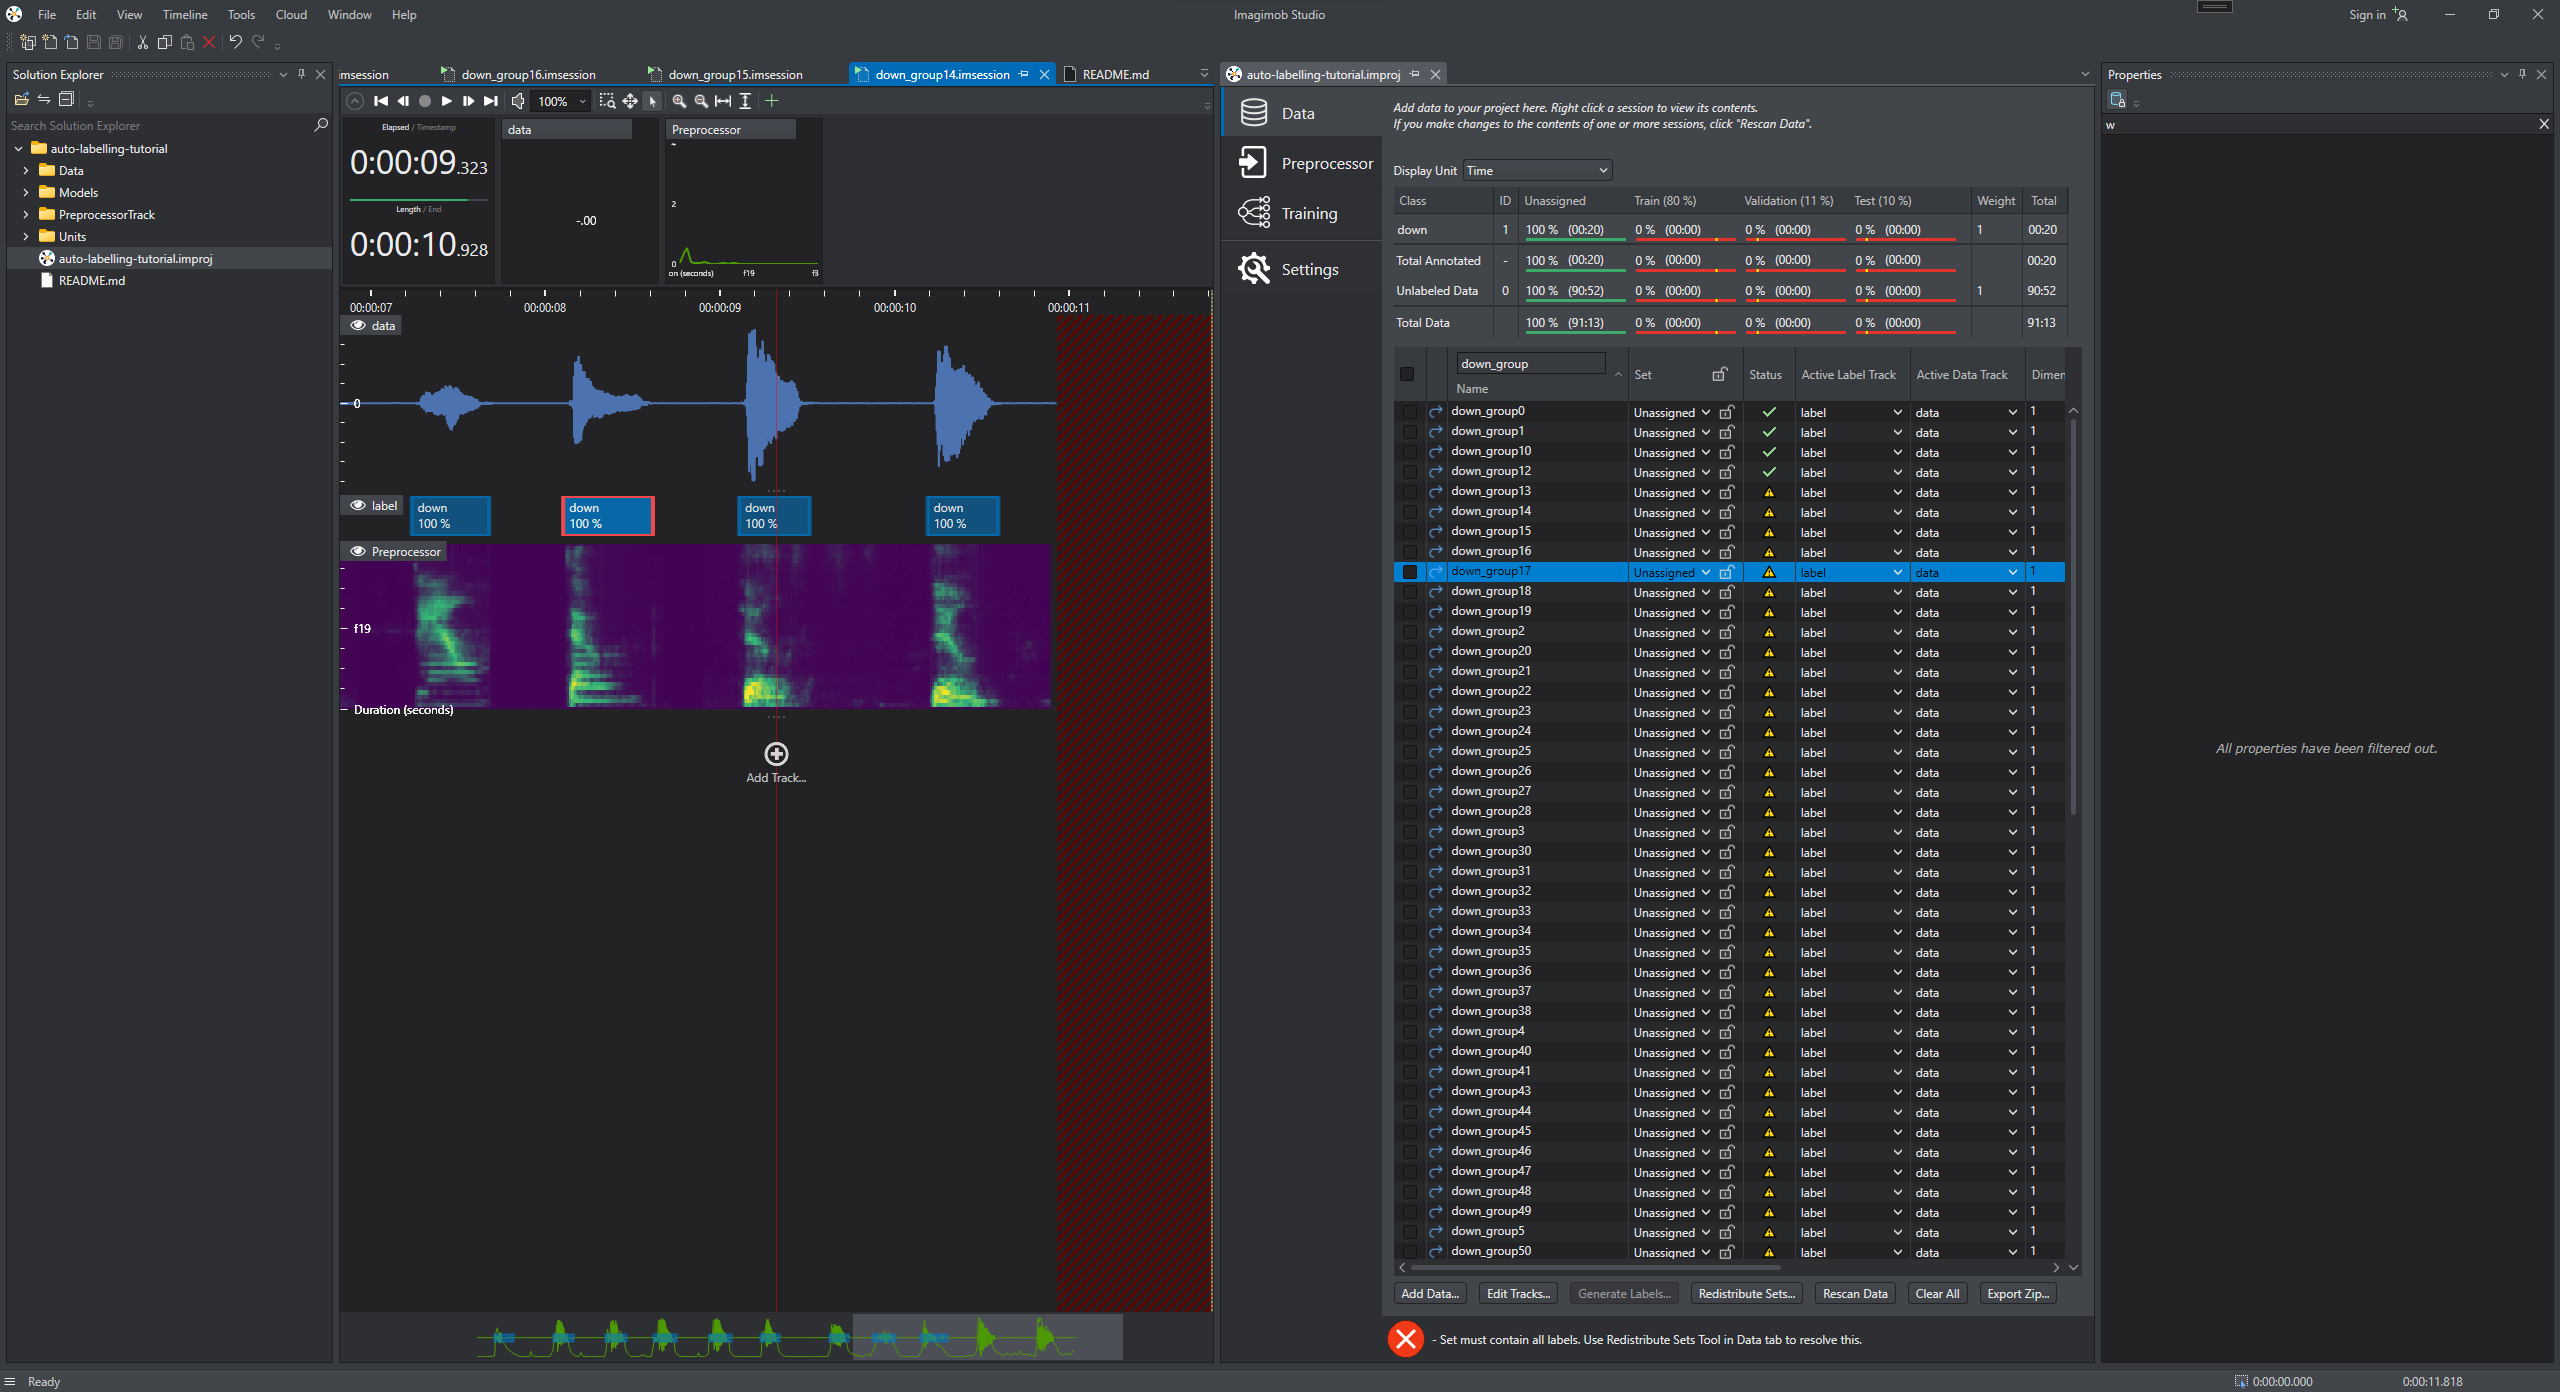
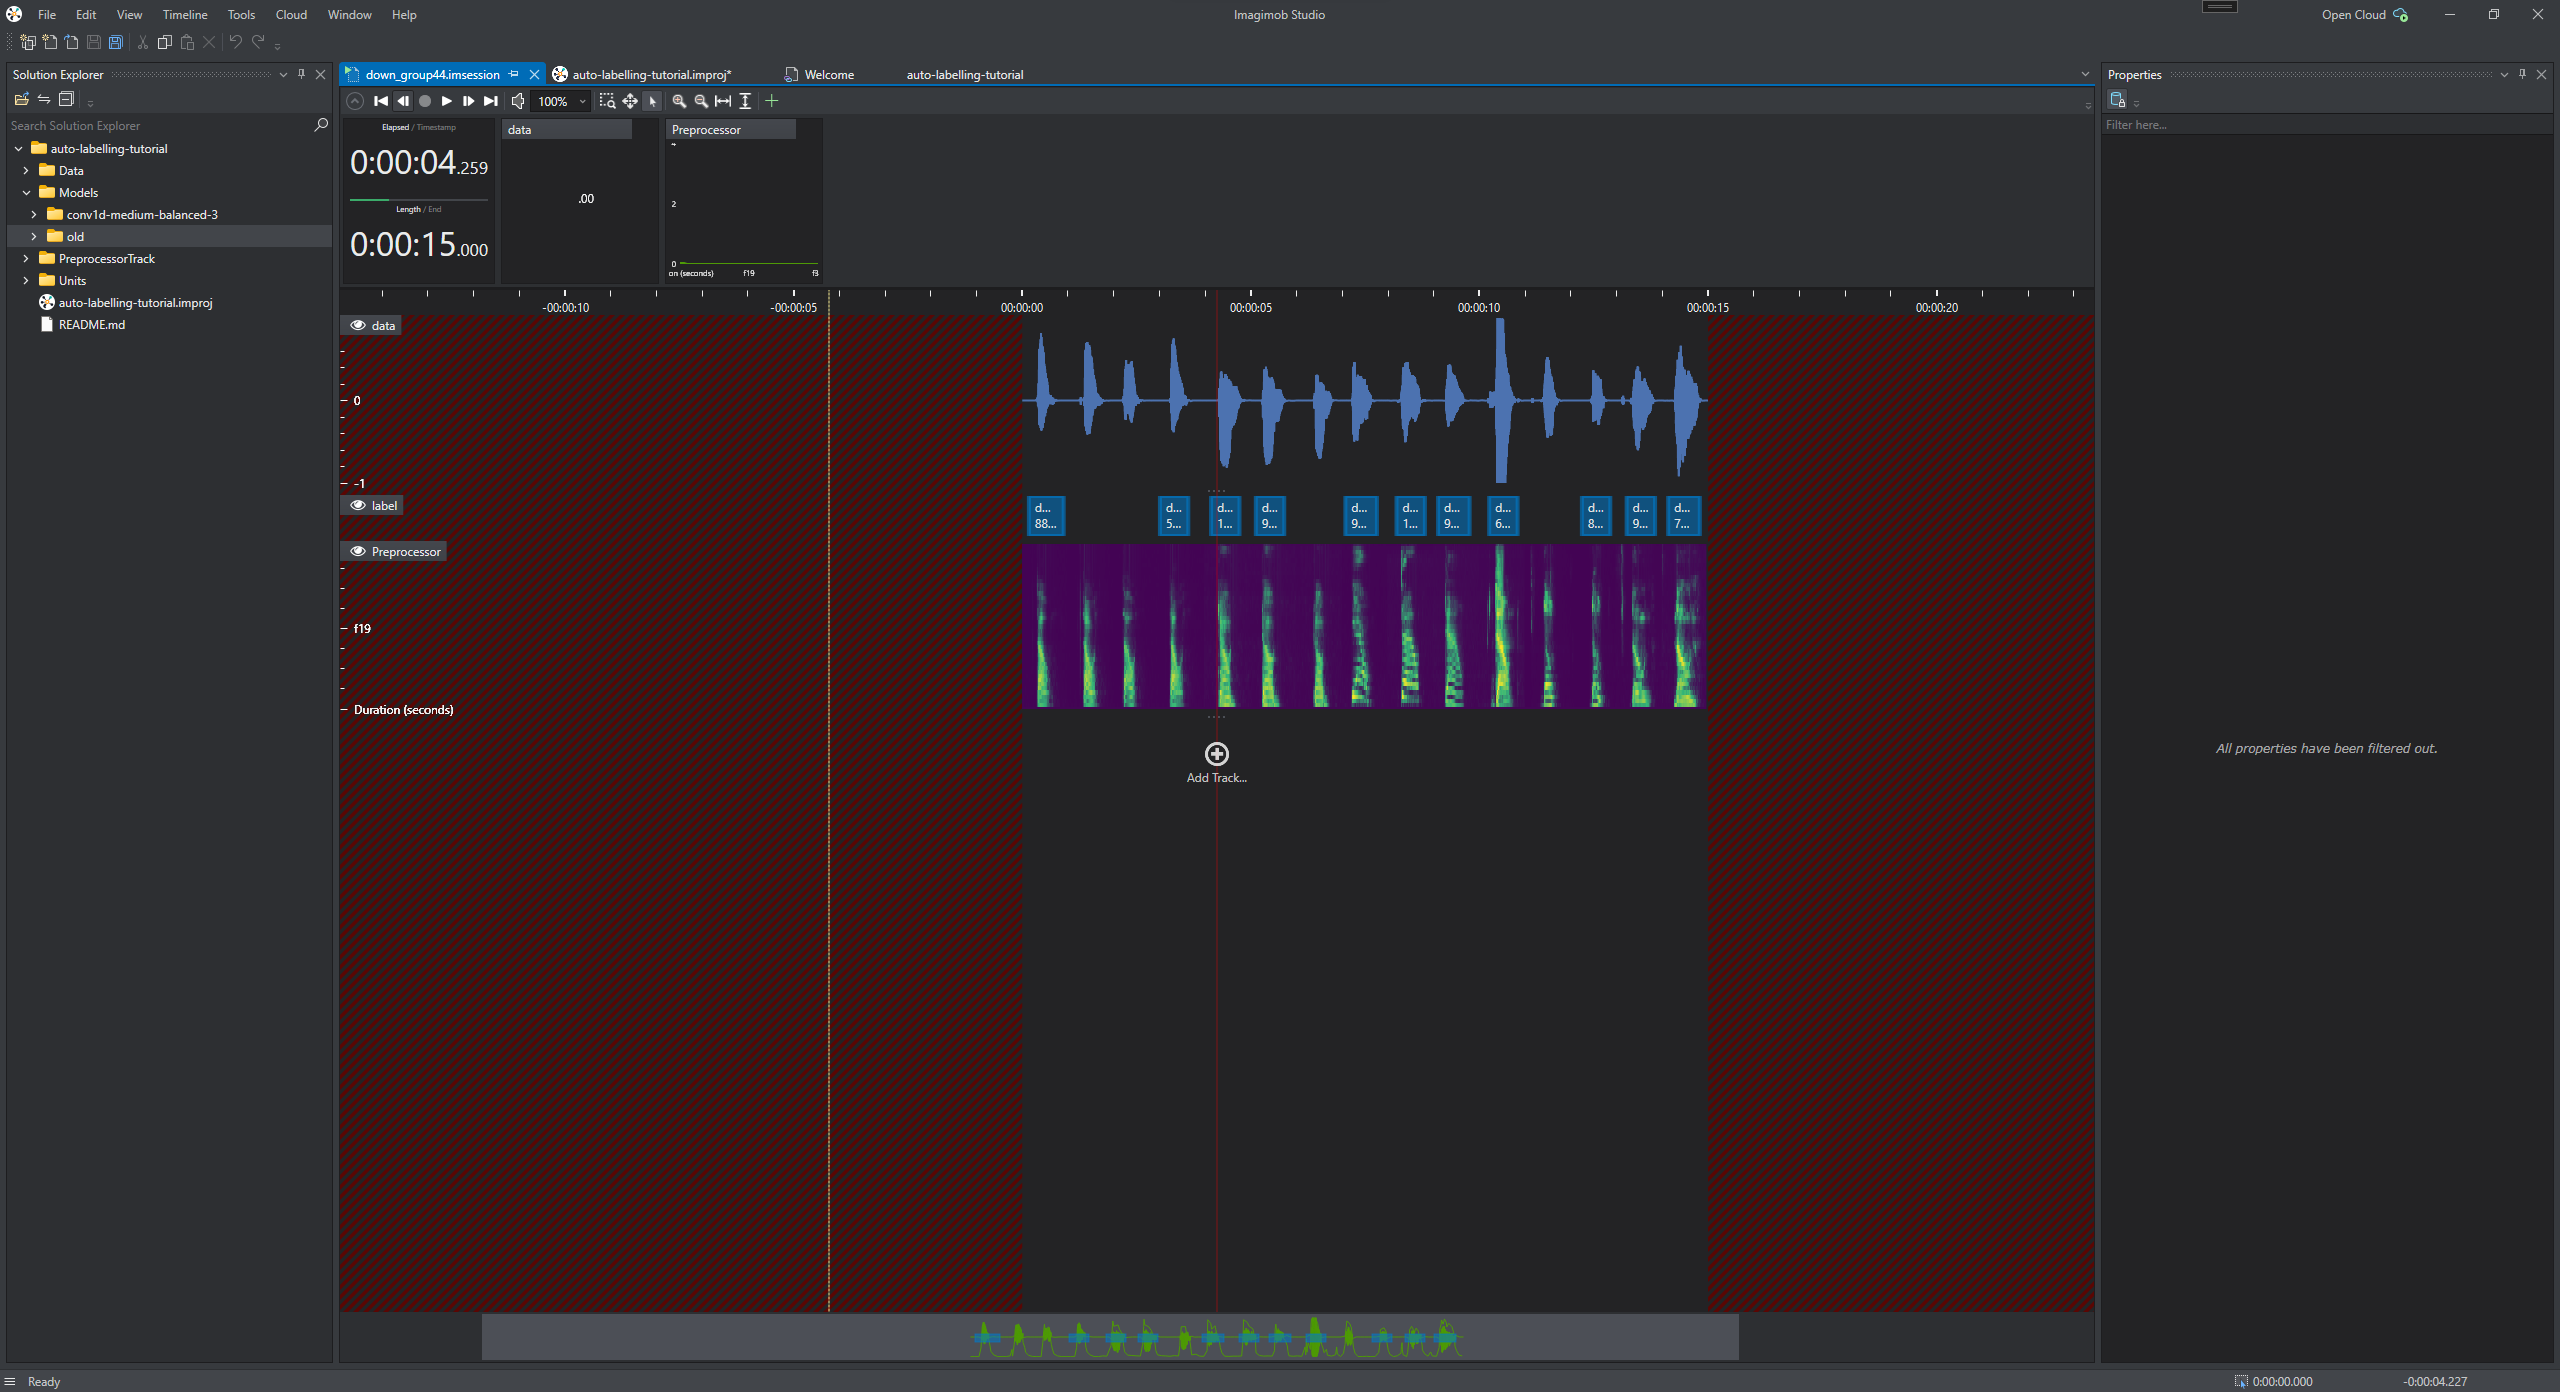
In the Data tab, open the session files and add labels to a part of the dataset manually. To know how to add labels in the dataset, refer to Adding labels.
-
After labelling the dataset, assign most of the newly labelled sessions into the train set and a few sessions into the validation set.
-
In Set column, select Train or Validation from the drop down list for the respective sessions.
The training set will be used to train the machine learning model and the validation set will be used to evaluate the model performance on data it is not trained on.
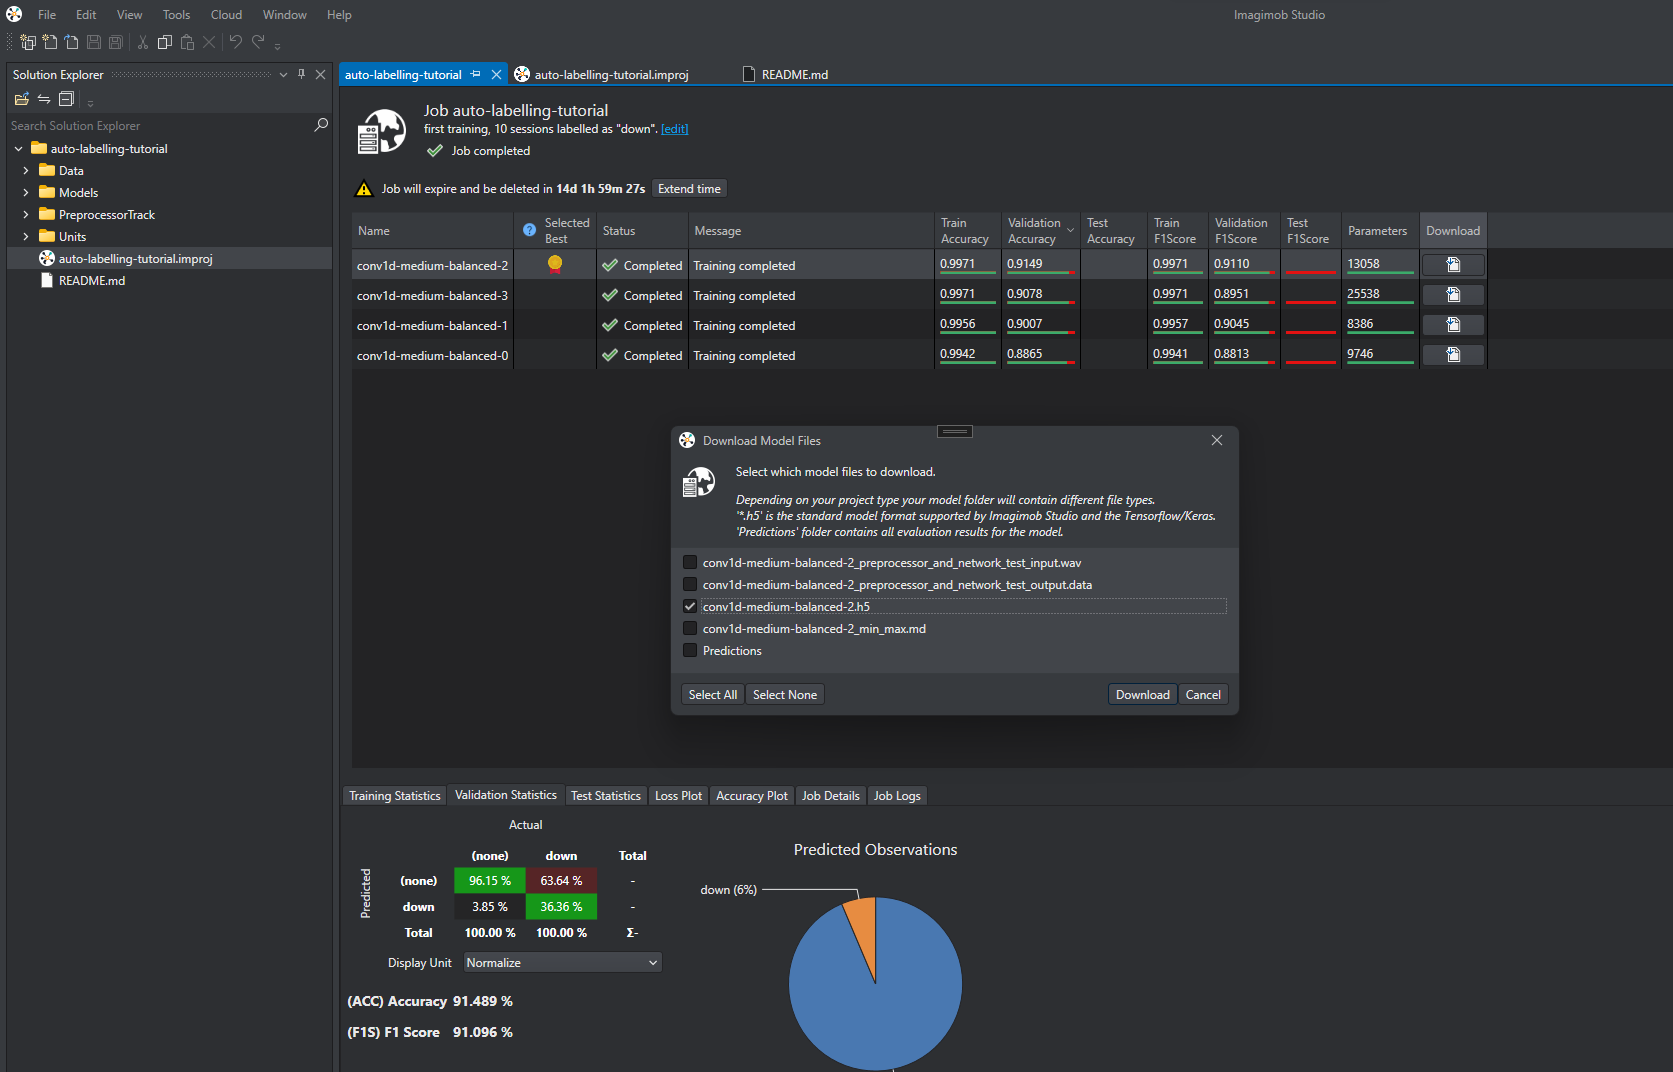
After labelling approximately 80 events, you can start training the first model.
-
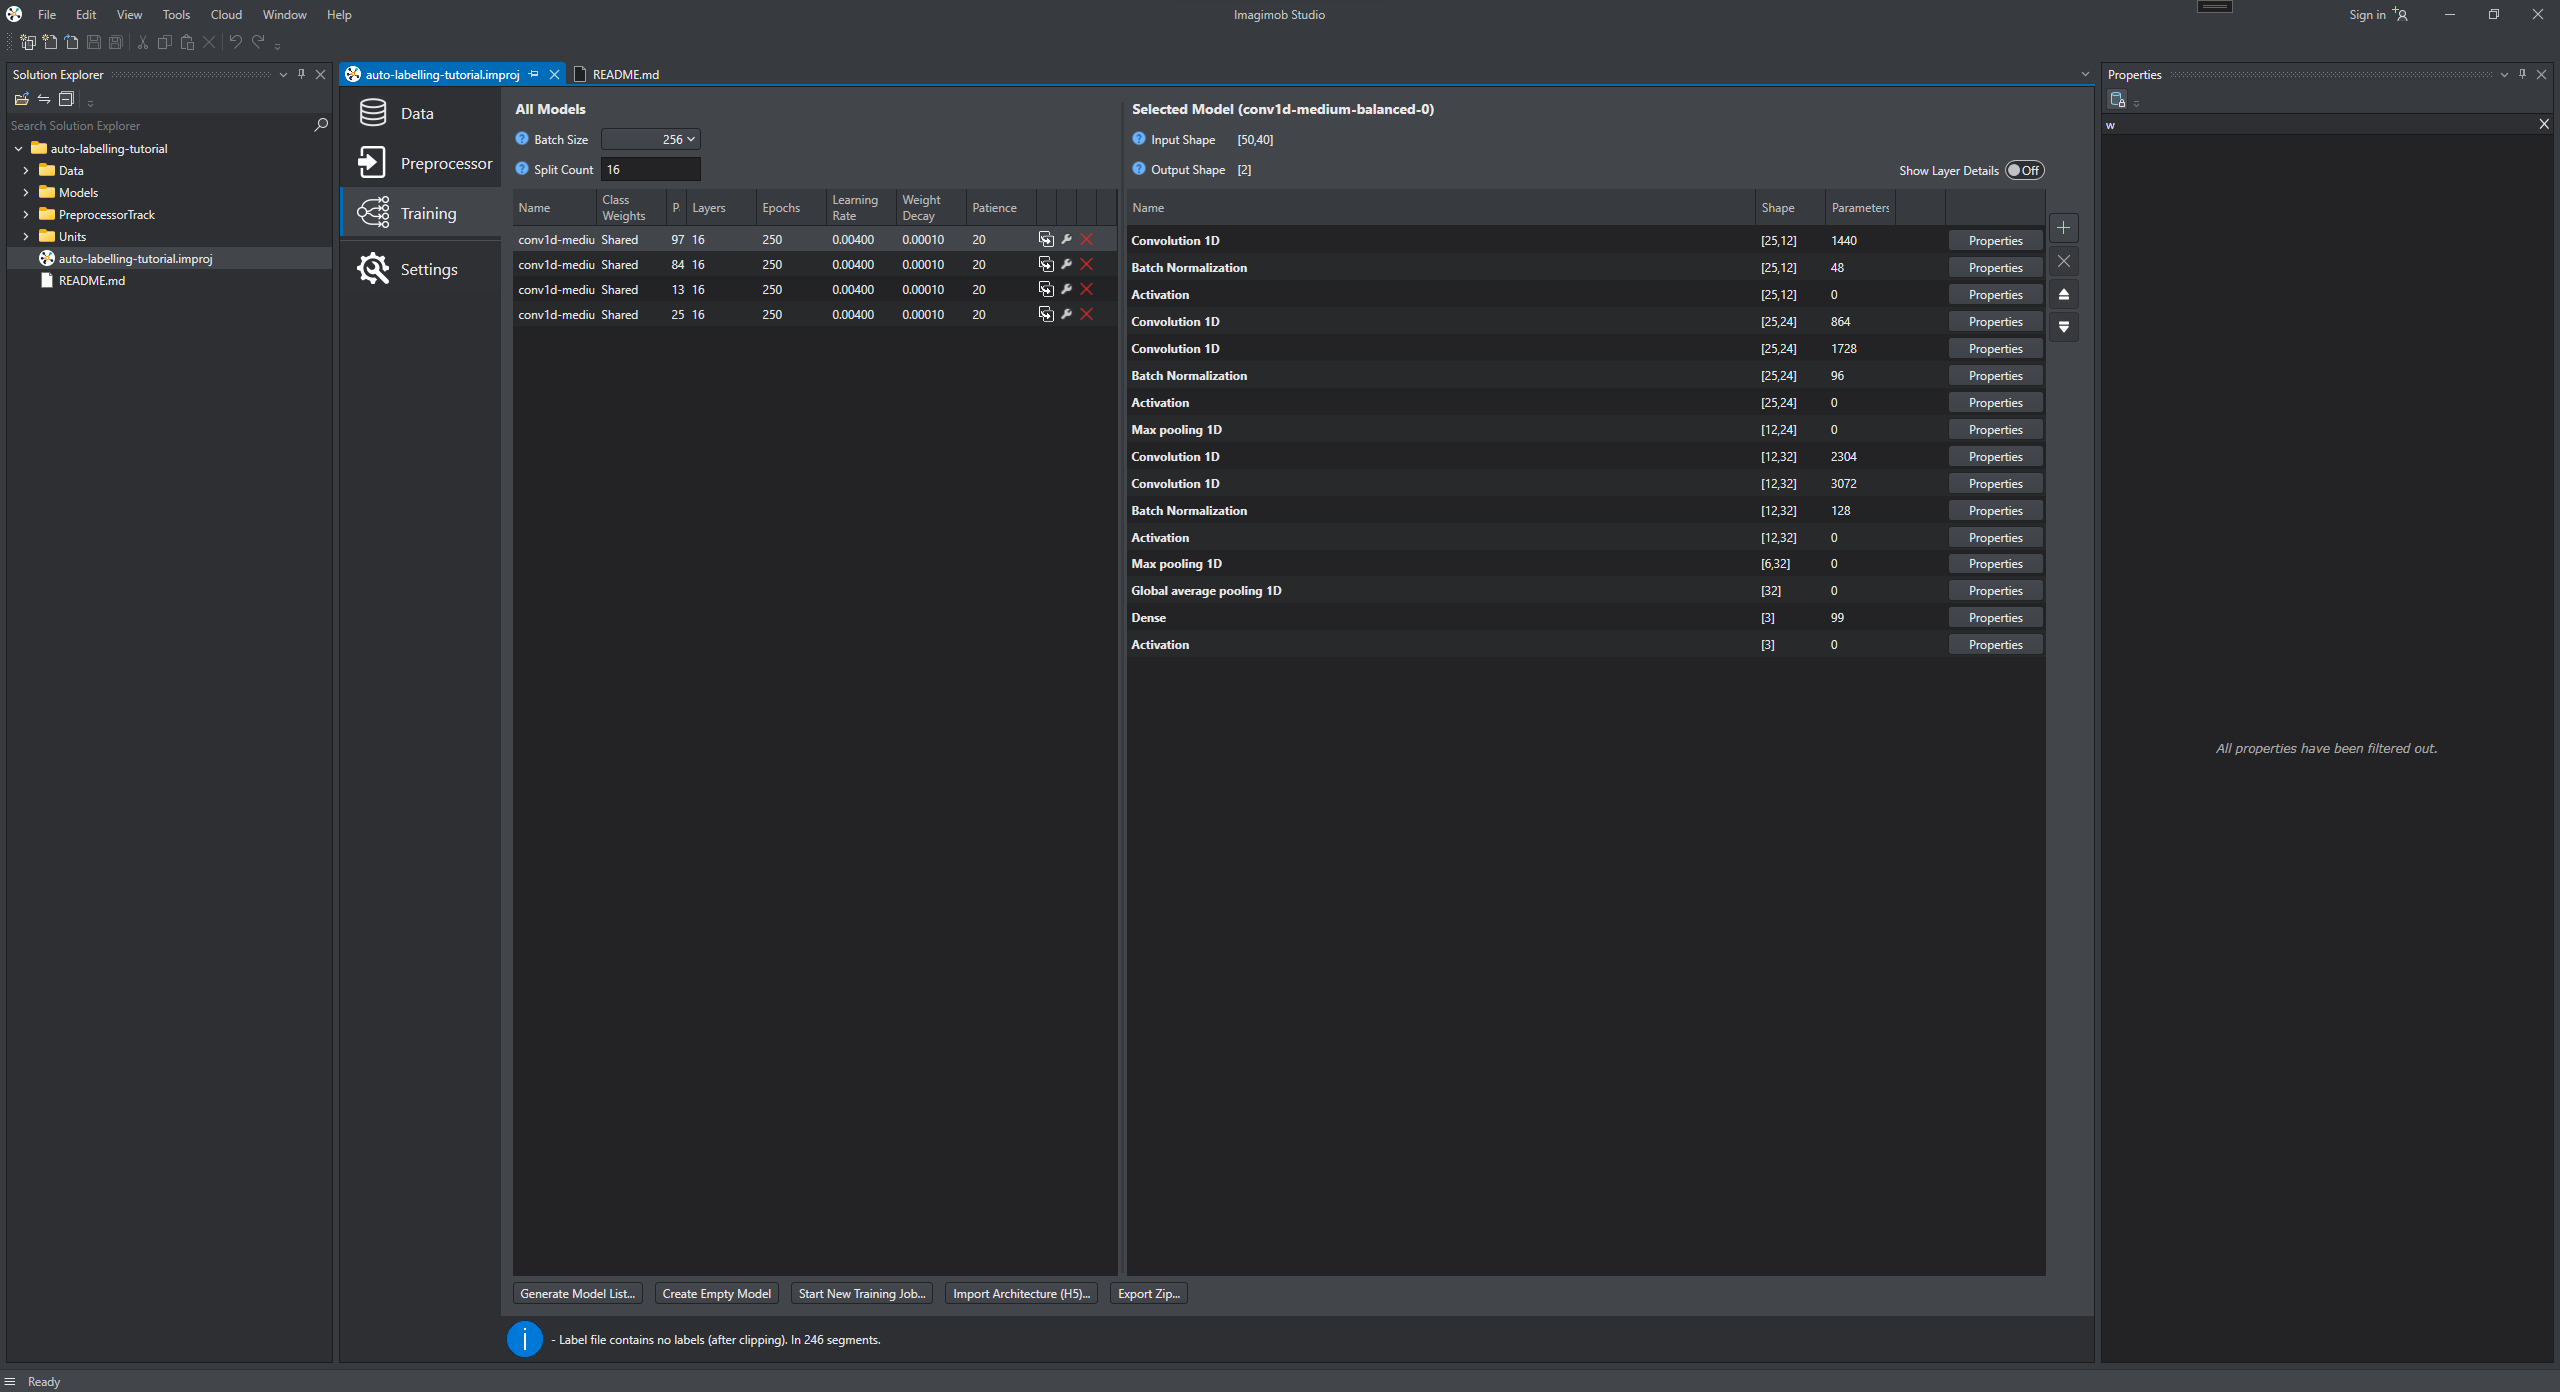
In the Training tab, click the Generate Model List and configure the parameters in Model Wizard to generate a list of models. You can start with the default settings and change, if needed. To know how to generate a model, refer to Generating model.
-
Start a new training job and wait for it to complete.
-
After the training job is completed, compare the models and select the one with the best validation statistics. You will see that the platform selects the best model for you. However, you must verify by looking at the distribution of the Predicted Observations and the Actual Observations in the Validation Statistics tab.
-
Download the the trained machine learning model (.h5 file). You can now use this model to label additional data automatically.
-
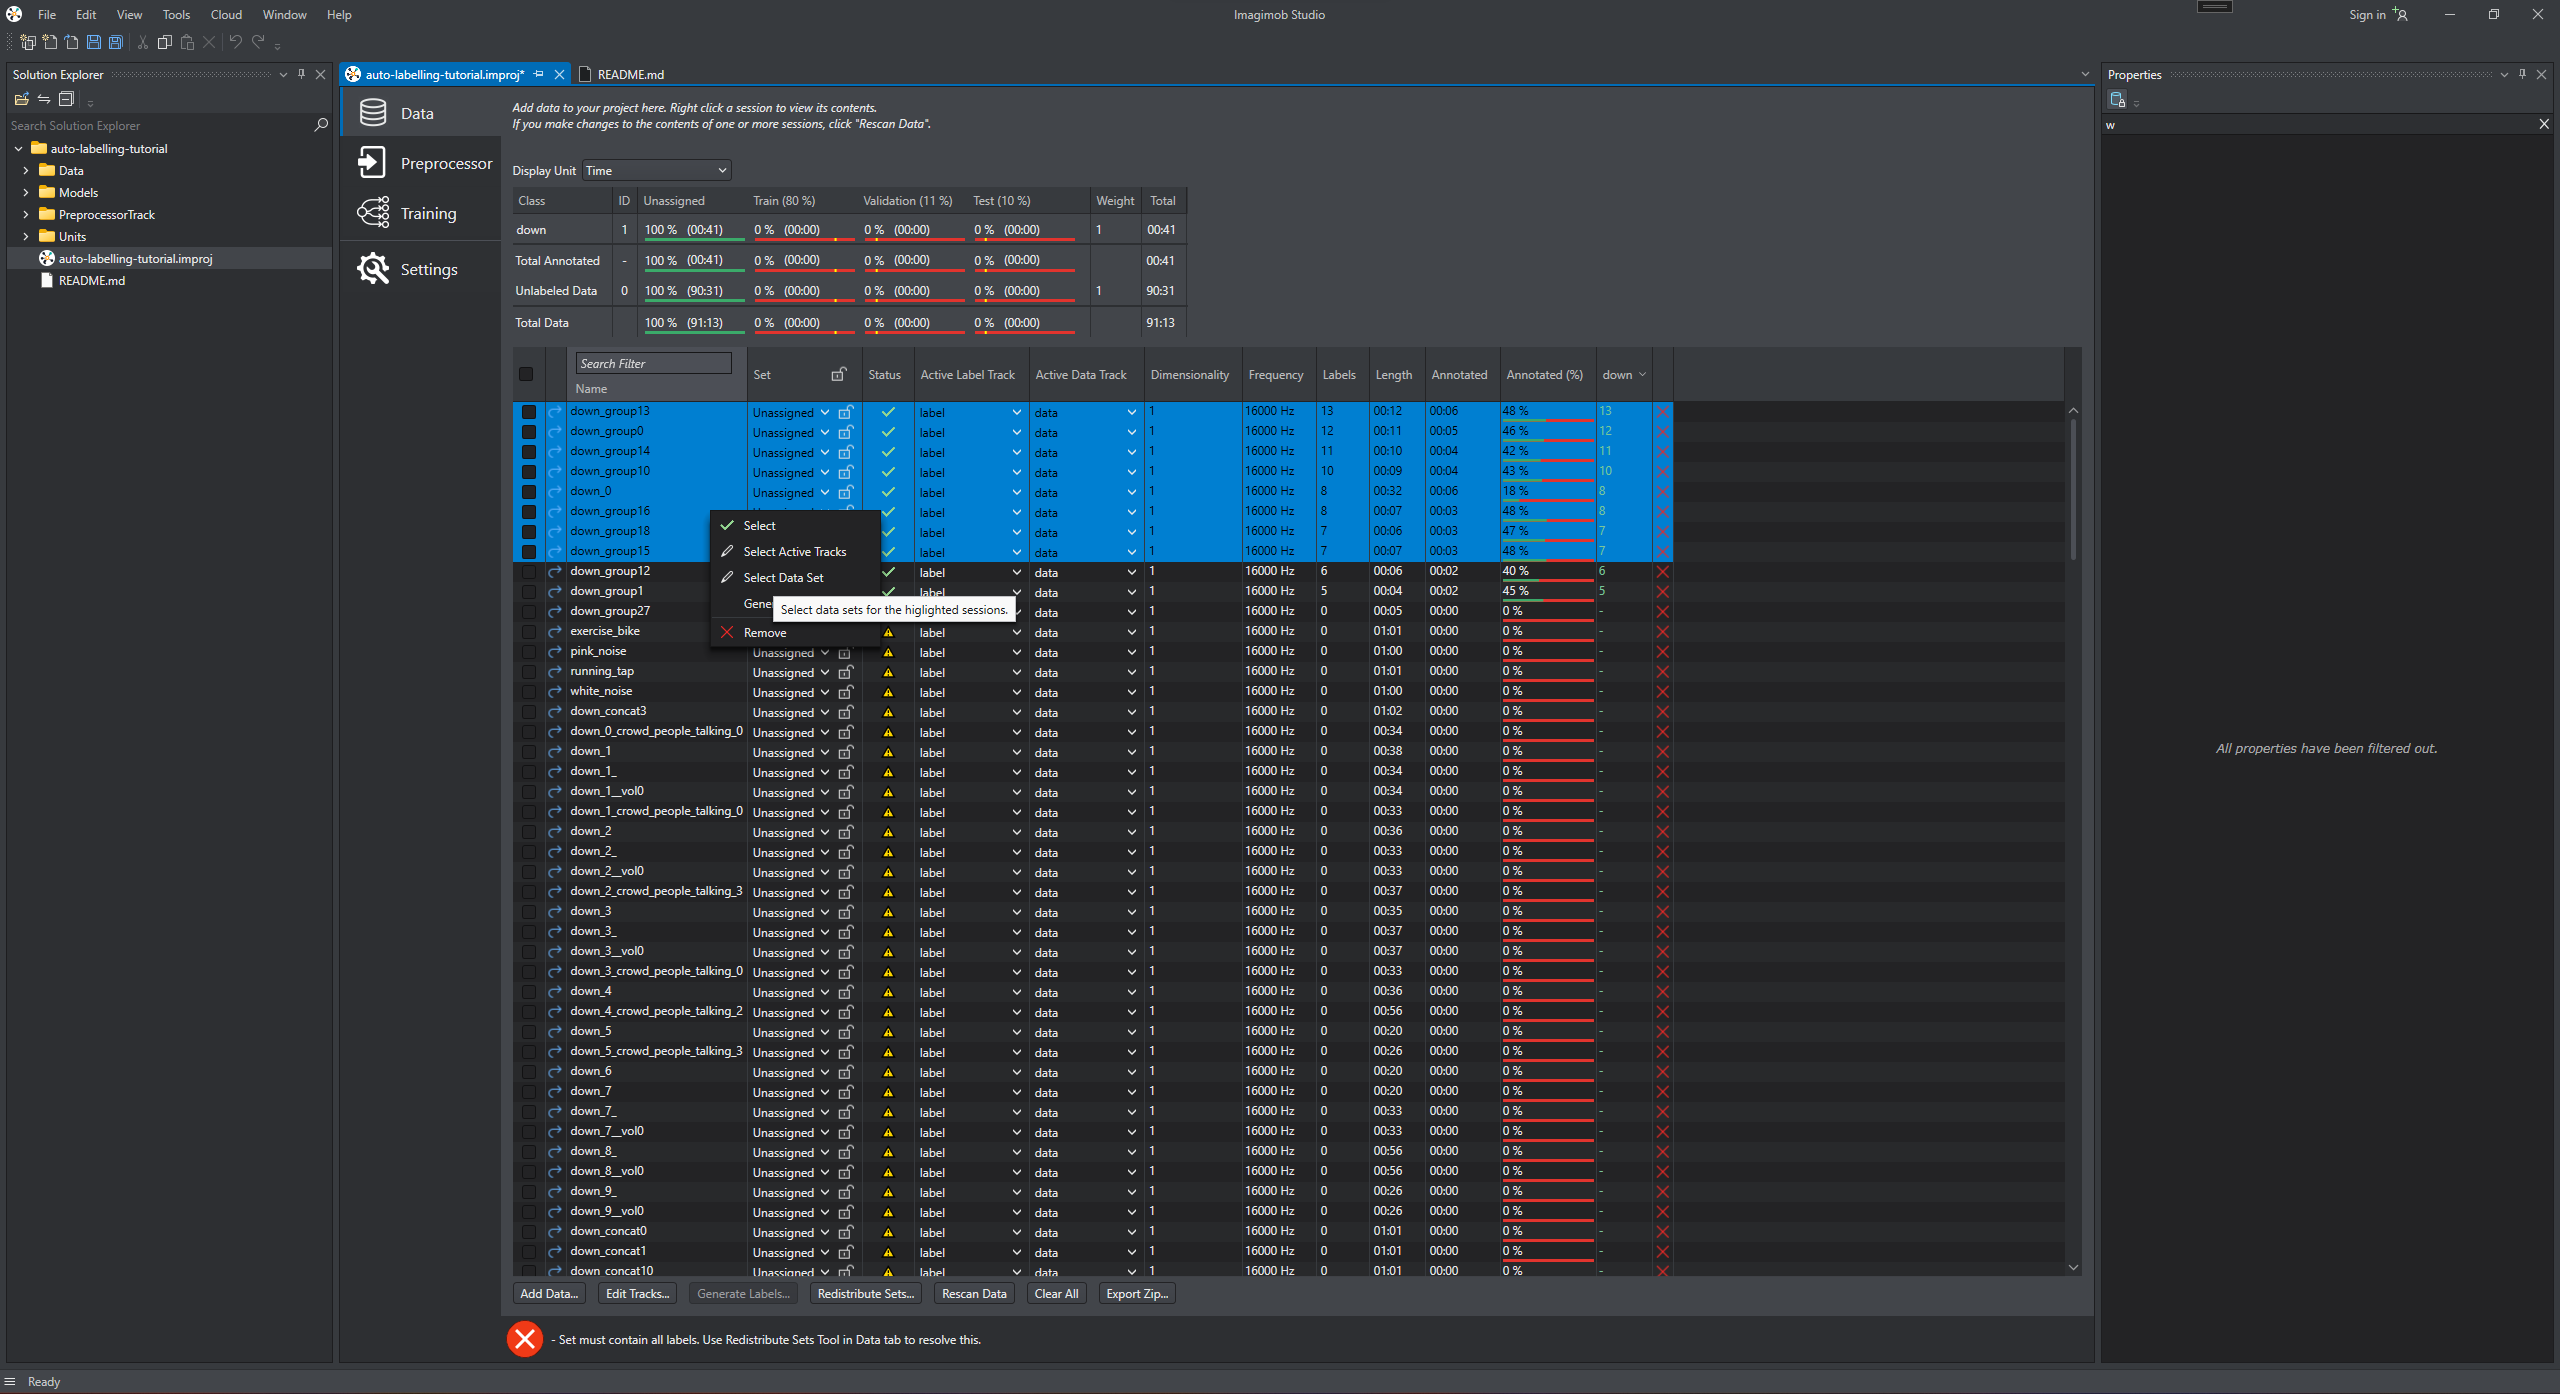
In the Data tab, select the unlabelled sessions which are not assigned to the training or validation set. You can select multiple entries in the list by clicking and holding down the shift key or manually by clicking on the checkboxes to the left of each entry.
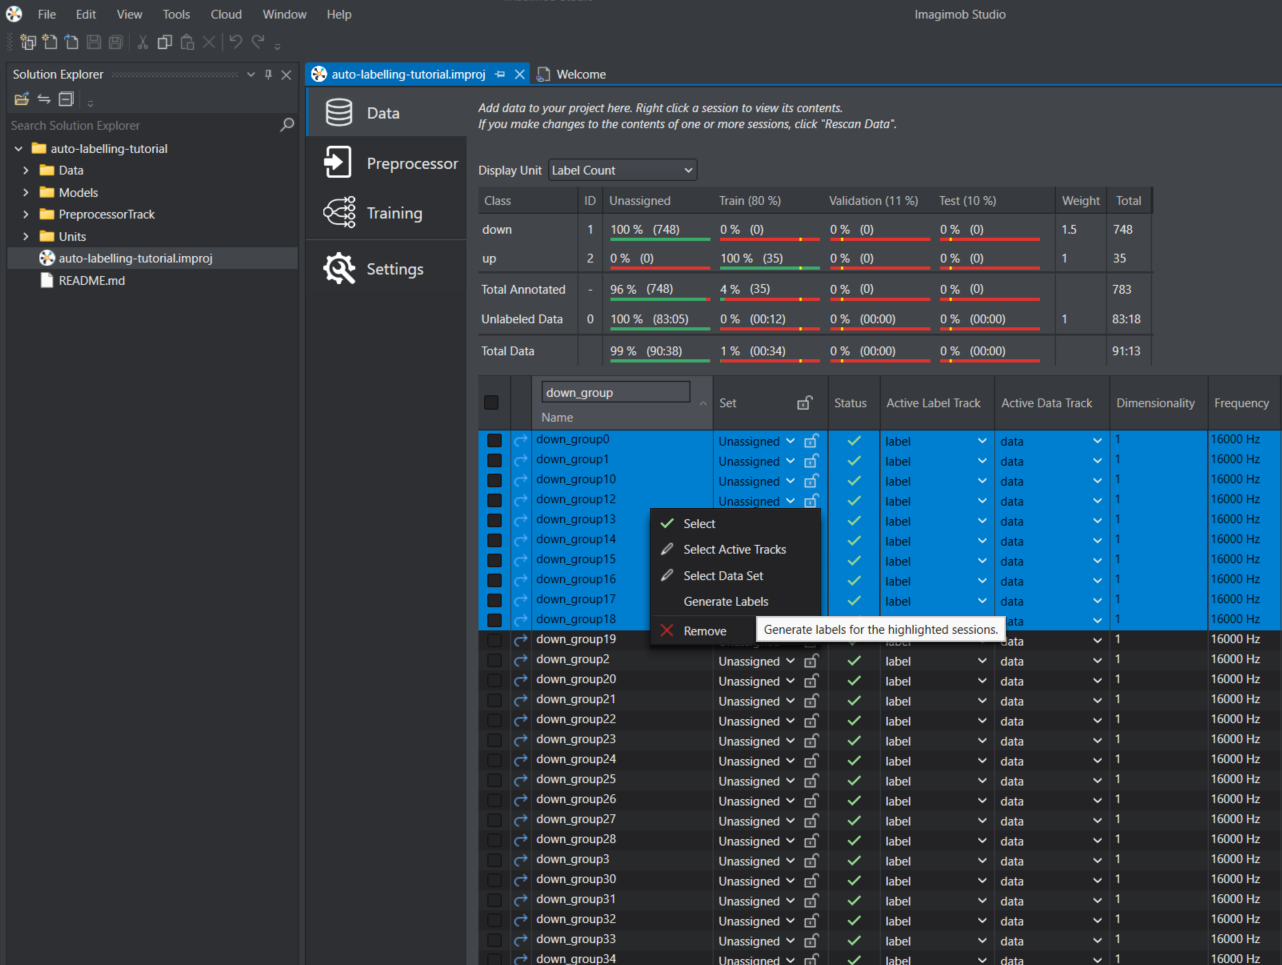
- Right-click and select Generate Labels from the list of options. The Generate Labels Wizard window appears.
-
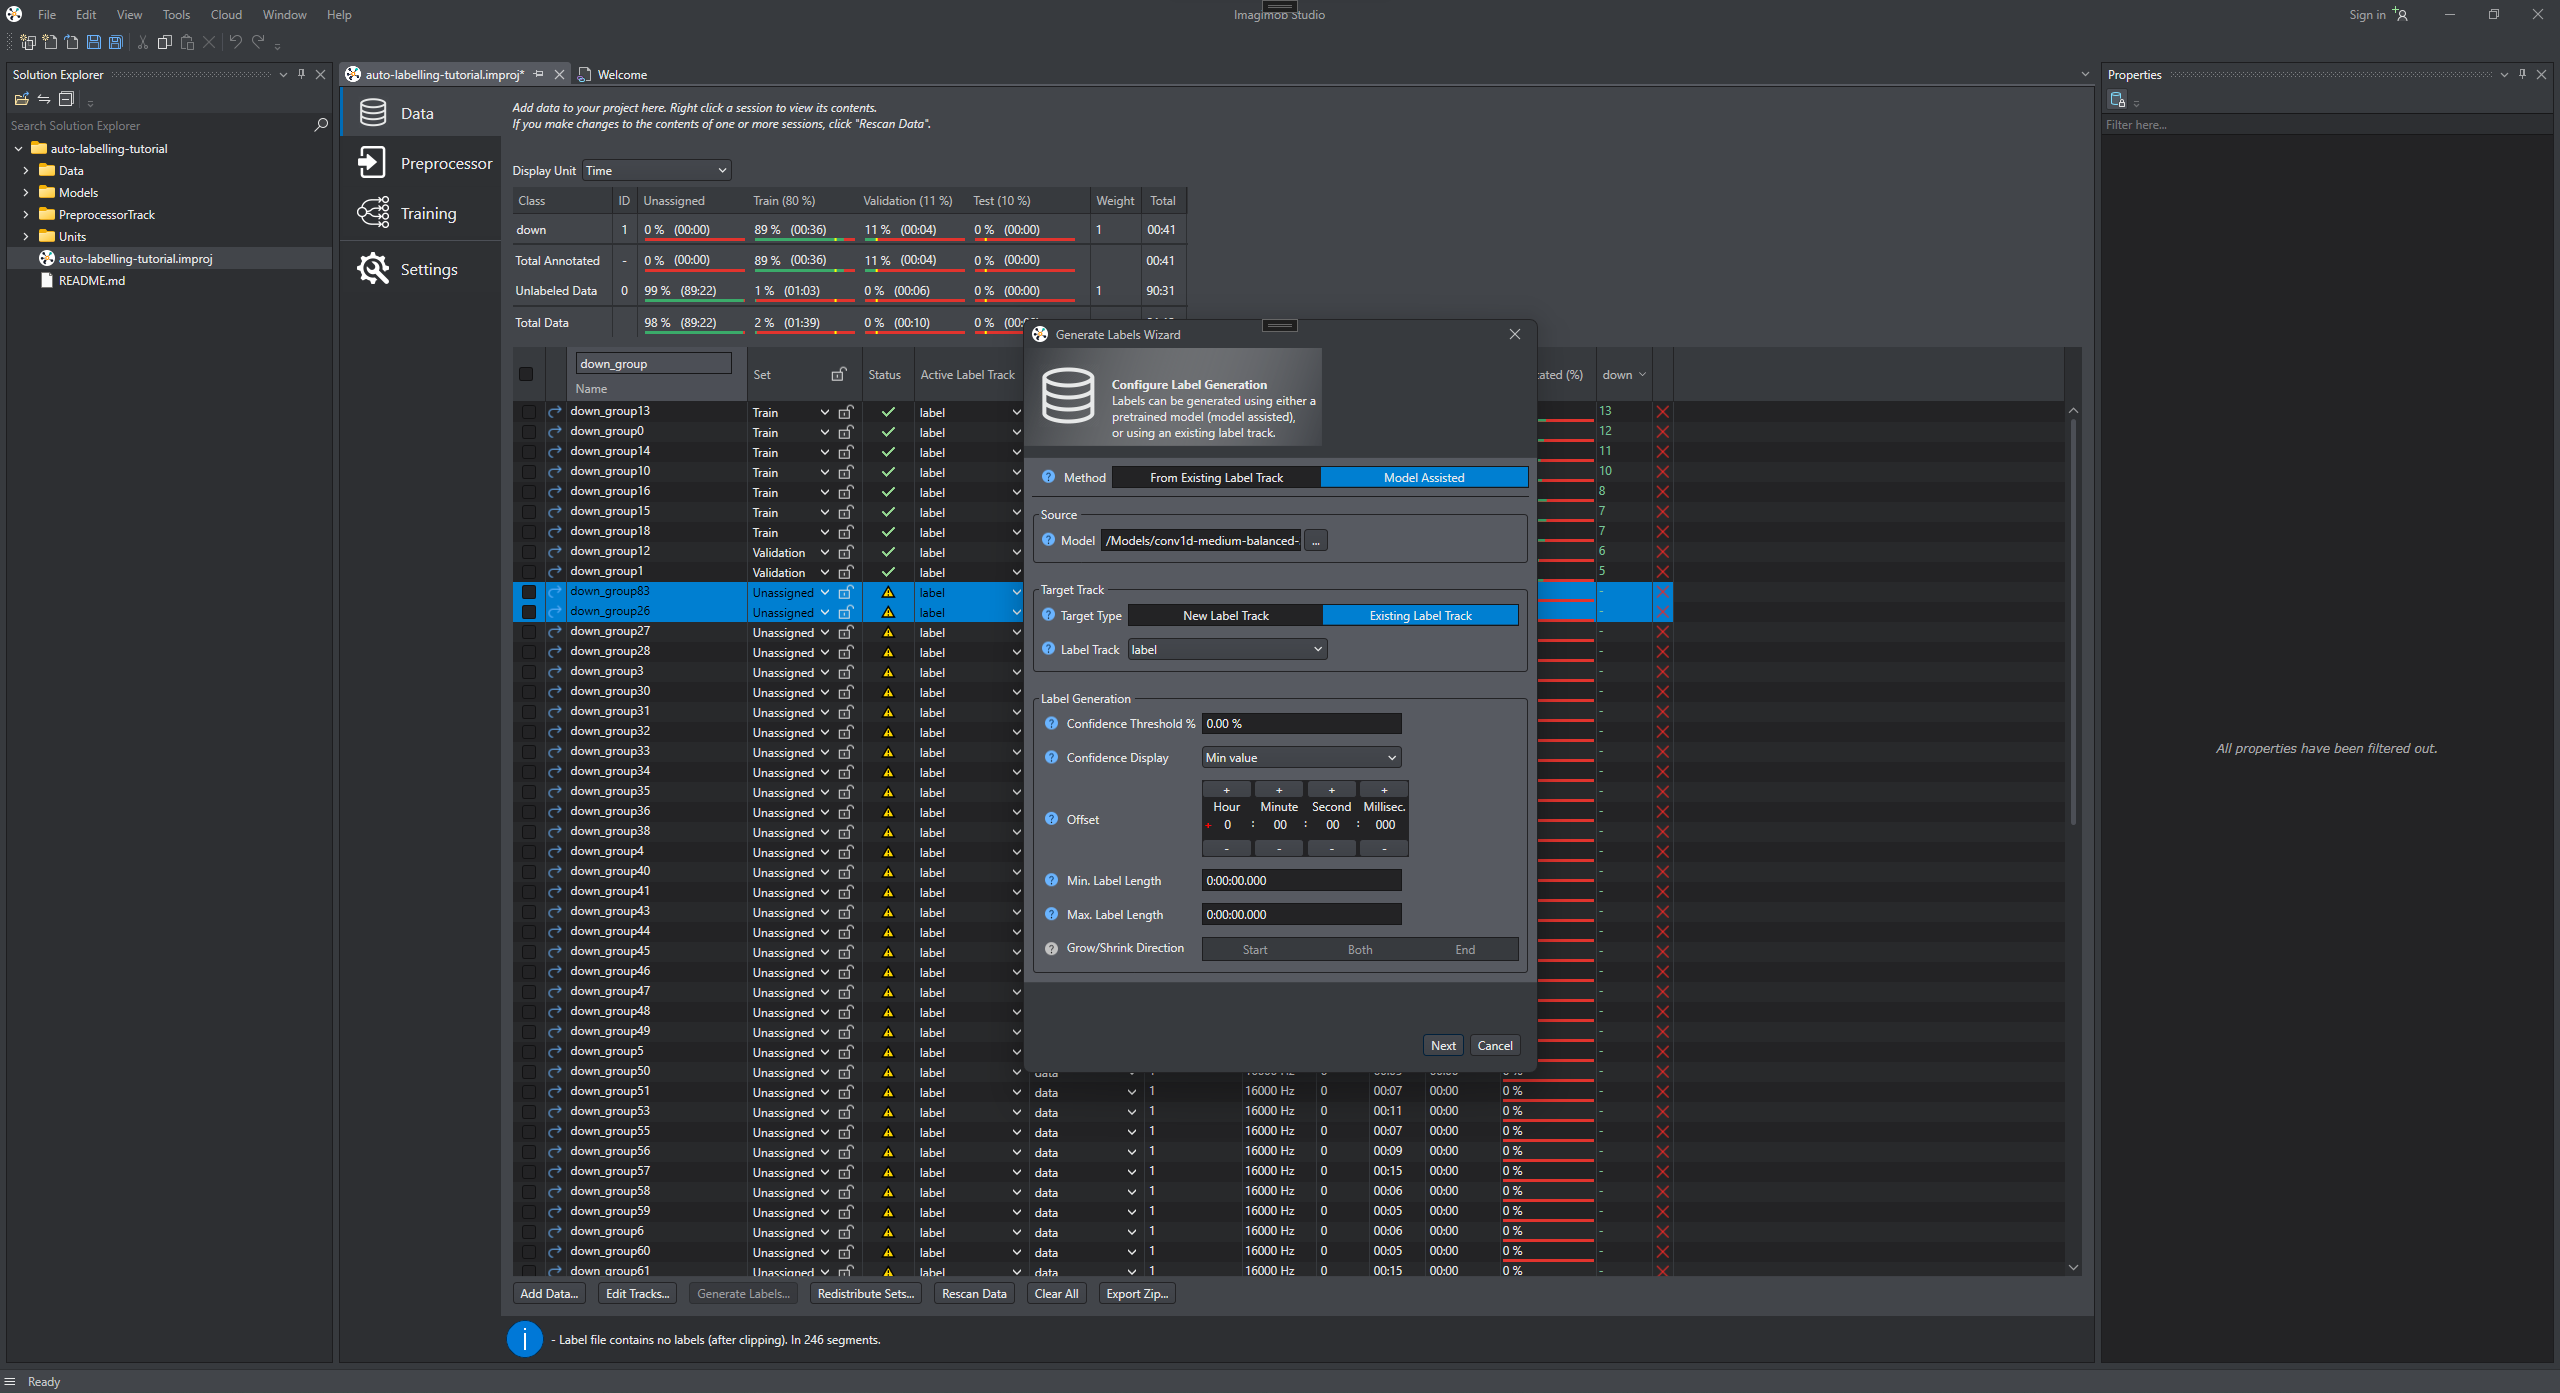
In Generate Labels Wizard dialog, select Model Assisted and select the model that you just downloaded.
-
In Method, select Model Assisted as the option to generate labels.
-
In Source, browse to select the trained model that you downloaded.
-
In Target track, select the Target type as Existing Label Track. In our example all of the sessions contain a label track named 'label'. We select to put the generated labels in this track.
-
Use the default settings and click Next.
-
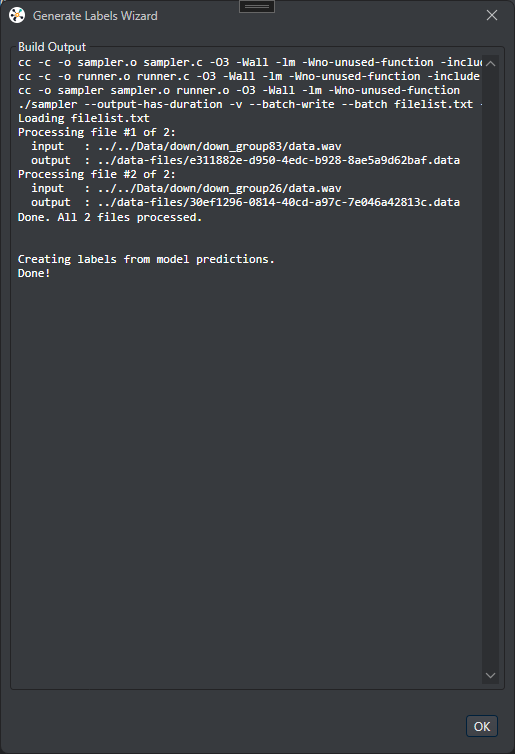
Wait for the ML assisted labelling to complete and click OK.
-
Open the newly auto-labelled session to inspect the labelling. If the model miss to label some events, add labels to the events manually. Simillarly, inspect the other newly labelled sessions.
-
Depending on the results of the ML-assisted labelling, you have two options:
-
Use the same machine learning model to label more sessions
-
Inspect and correct the newly labelled sessions, add the sessions to the 'train' and 'validation' set and train a new model,then use the new model to label more sessions. As you iterate, you will see that the results gets better as your model is trained on more and more data.
-
Labelling the other class
-
ML-assisted labelling yeilds the best results when labelling one class at a time. After labelling the dataset with class down, lets start with labelling the class up. Before moving over to label the next class, move all sessions in the project into the Unassigned set.
-
Repeat the process from step 2 as listed above to label the new class up. Similarly, label all your classes in the dataset.
-
In case, you see a warning Set does not contain labels from all classes..., ignore the warning and continue labelling. This warning appears because we are just including one class at a time into the training. However, when you are done with labelling and want to train a model that can classify all classes simultaneously, you should resolve this warning.
-
You can use From existing label track method of the Generate labels wizard to modify manual or previously generated label tracks. This is useful if you want to offset multiple label tracks, or change the size of the labels.