Preprocessing
After distributing the data into different data sets, the next step is to configure the preprocessor and generate a preprocessor track.
In a regression project, for one-dimensional data, the minimum preprocessing required is applying a sliding window. However, for data more than one-dimensional, a sliding window is not necessary for preprocessing.
Configuring preprocessor
The first step of the model building is to configure the preprocessor. To configure the preprocessor, follow the steps:
-
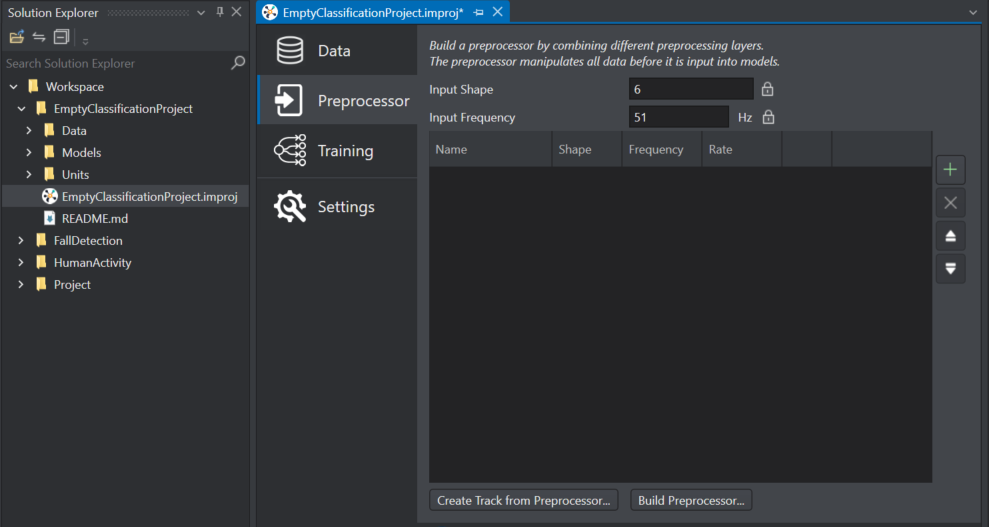
Navigate to your project directory and double-click the project file (.improj). The project file opens in a new tab.
-
Click Preprocessor tab on the left pane.
-
In Input Shape, the shape or dimensionality of the input data is provided to the machine learning model. This parameter is computed automatically by Studio. For example, a accelerometer sensor generates data in the format [x,y,z] so the shape of the input data is 3.
-
In Input frequency, the frequency of the input data is provided to the machine learning model. This parameter is computed automatically by Studio.
-
Click + (Add new layer) to add preprocessing layer to the machine learning model.
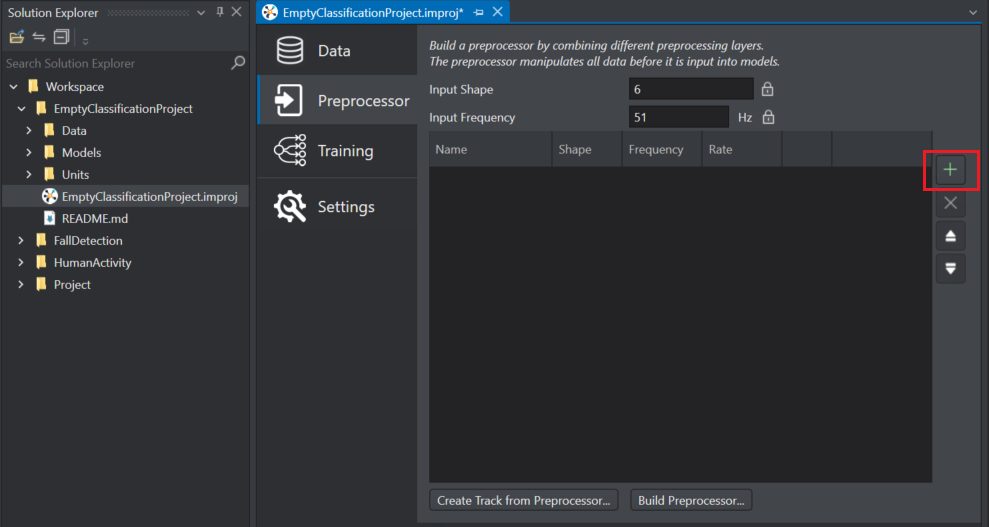
The Add New Layer window appears.
-
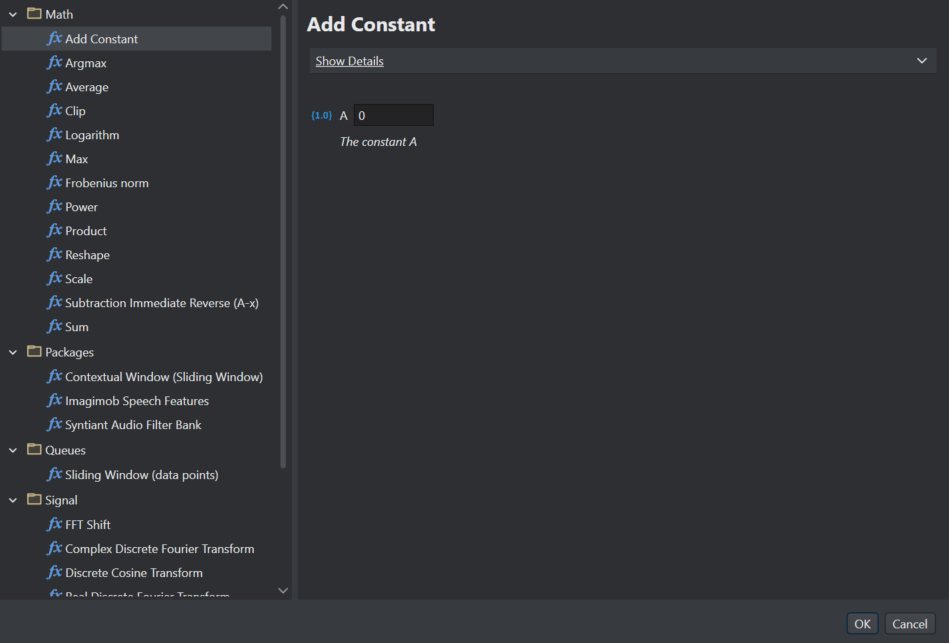
Select a single preprocessing layer or group of preprocessing layers bind as a package applicable to your project. You can add multiple preprocessing layers or packages to the model.
Let’s see how to add a preprocessing package Contextual Window (sliding window). A contextual window layer group several sensor readings together into a window and let the AI model classify these readings together.
You can select Imagimob Speech features preprocessing package for projects such as keyword spotter.
-
Under Packages, select Contextual Window (sliding window).
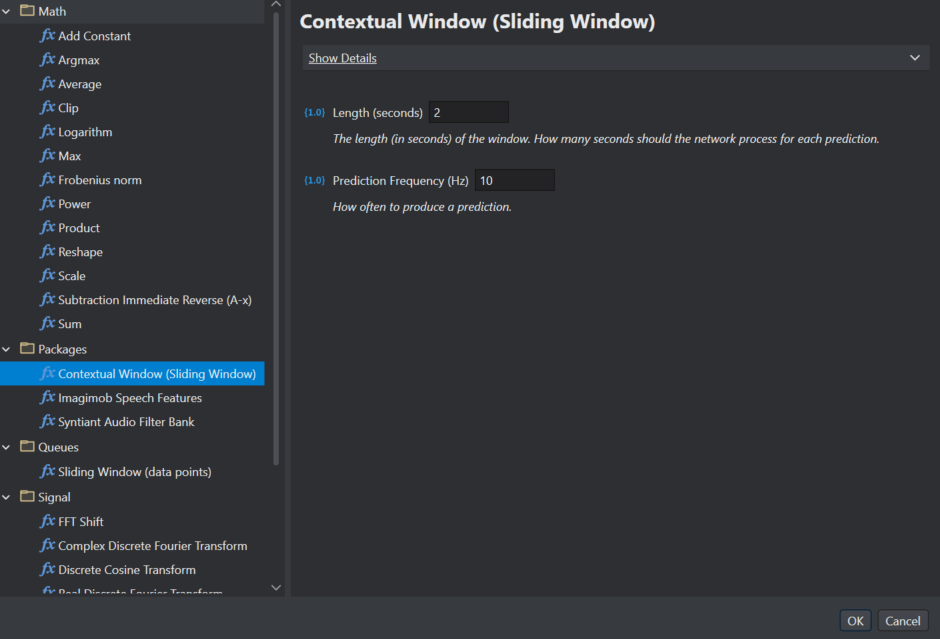
- In Length, enter the length of the sliding window in seconds.
It is recommended that the length of the sliding window should be equal to or greater than the length of the longest label in your dataset.
- In Prediction frequency, specify the frequency at which you want the machine learning model to make a prediction.
-
Click OK.
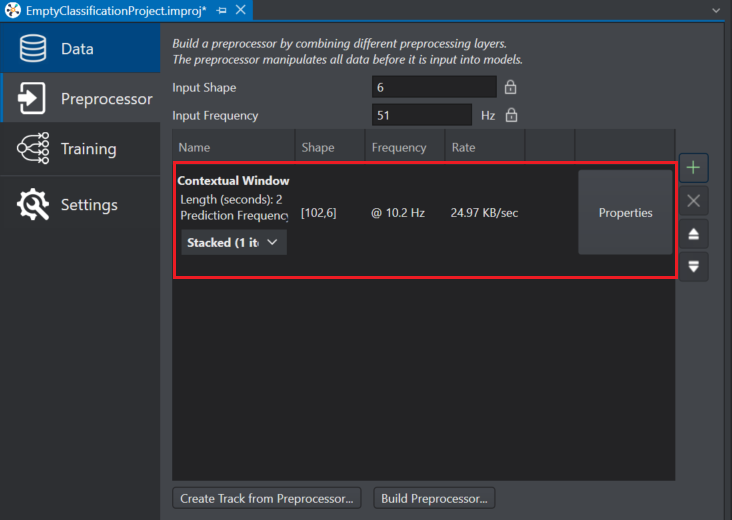
The Contextual window layer is added as one of the preprocessing layer. Similarly, you can add multiple preprocessing layers as per your requirement.
In case you get an error message after adding the preprocessing layers, you must resolve the errors before proceeding. To do so, click the Properties button of the respective layer and make the required changes. If you have added a preprocessing package, you first need to convert the package to individual preprocessing layers by clicking the unstack icon.
Generating preprocessing tracks
Before building the model, it can be useful to view and evaluate the output of the preprocessing by generating the preprocessor track.
This is an optional step and can also be performed later.
To generate the preprocessor track, follow the steps-
-
Click Create Track from Preprocessor button.
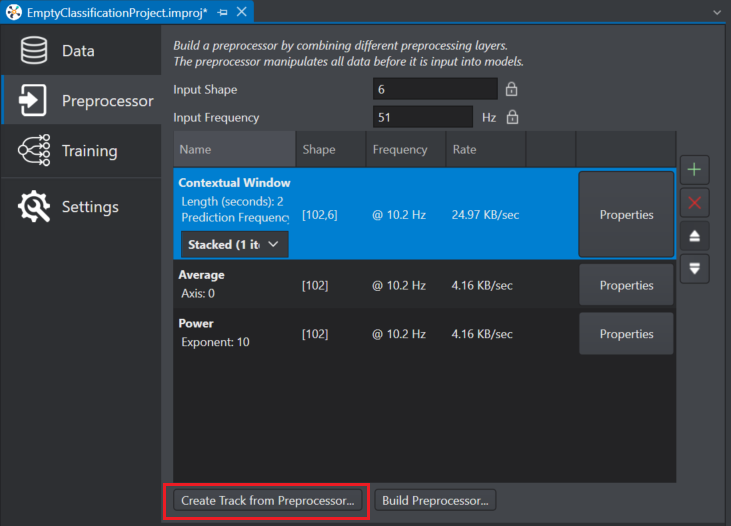
The Create Track from Preprocessor window appears.
-
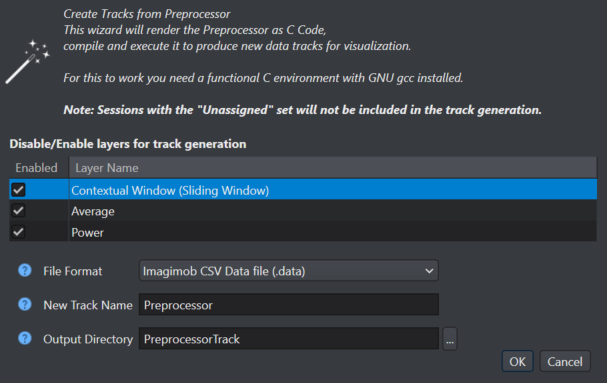
In Disable/Enable layers for track generation, enable the layers that you want the pre-precessor to process when building the model.
-
In File format select the file type.
-
In New Track Name enter the name of the preprocessor.
-
In Output Directory select the directory where you want to generate the track.
-
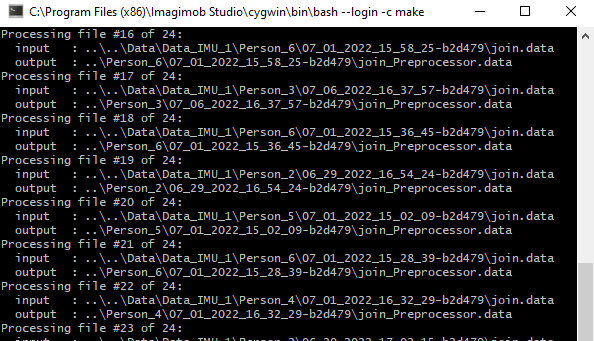
Click OK.
A console indicating the progress appears and a new directory with the selected name is generated inside the project.
You can view and evaluate the output of the preprocessor by importing the preprocessing tracks into the session file.
Importing preprocessing tracks
To import the preprocessor tracks, follow the steps:
-
Navigate to the project directory and open the project (.improj) file.
-
In the Data tab, click Merge button and browse to select the PreprocessorTrack folder.
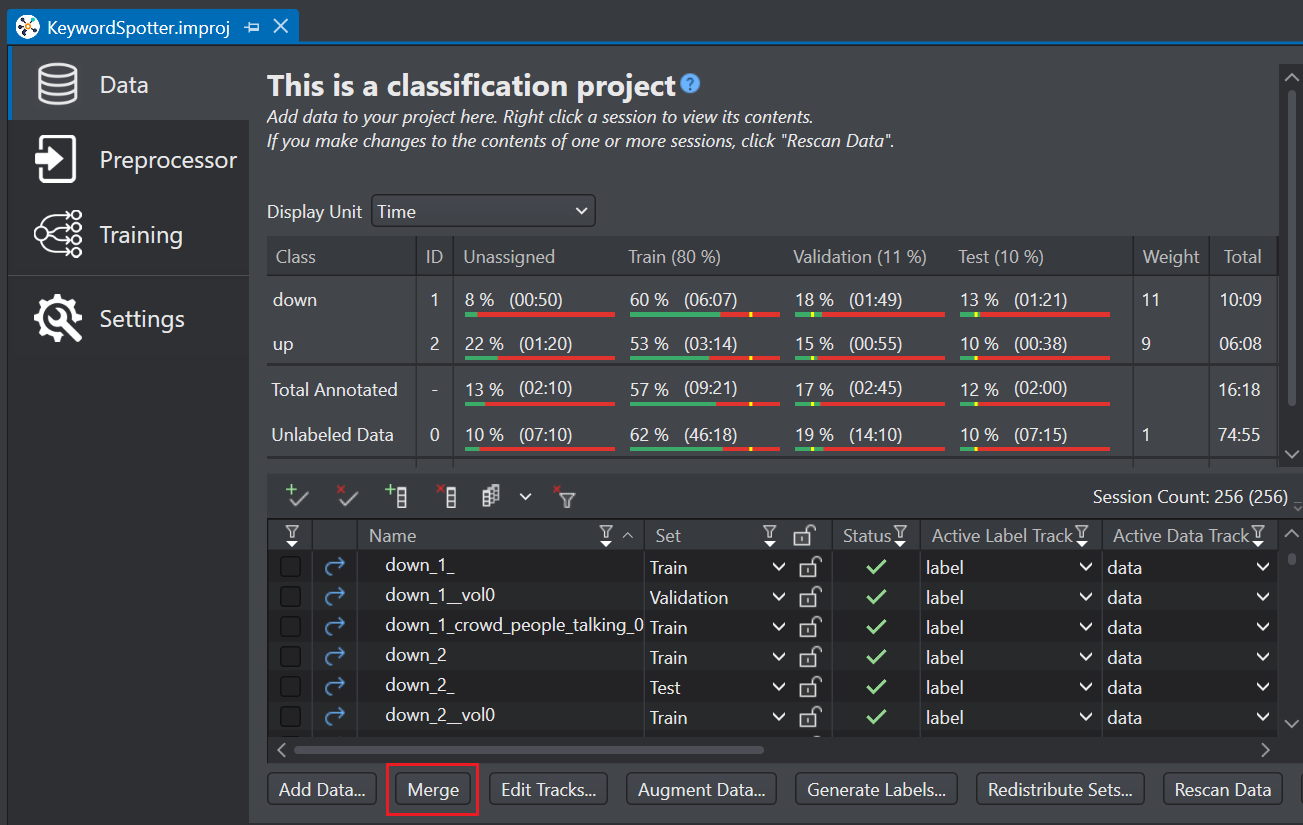
-
Select the Nested structure or Flat structure radio button and click Next. The preprocessor tracks from the selected folder will be merged as tracks into the corresponding local sessions.

-
Select or deselect what you want to import and click OK to complete the merge.
Building preprocessor
This is an optional step and can also be performed later.
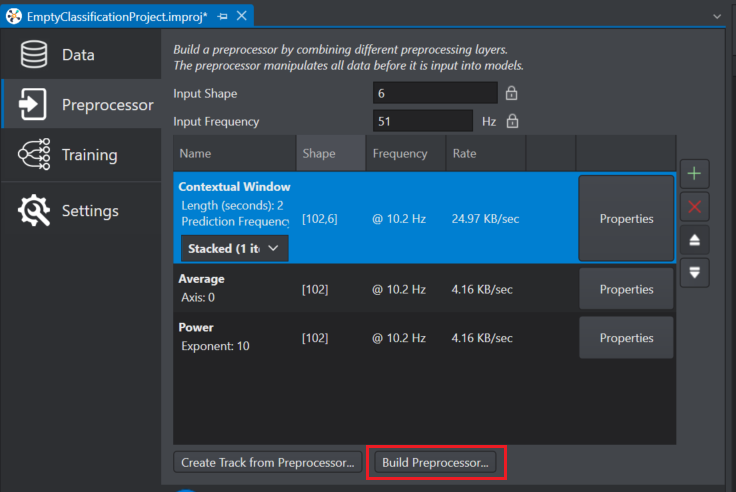
After you have configured the preprocessor, you can now build the preprocessor.
To build the preprocessor track, follow the steps-
-
Click Build Preprocessor button.
-
Select folder where you want to save the preprocessor python file (.py).
-
Click OK to save the file.