Create labels for projects
IMAGIMOB Studio supports pre-defining labels for each and every project. You can pre-define labels in the project file for one time and use the pre-defined labels to annotate the data in the session files.
To pre-define the labels in the project file, follow the steps:
-
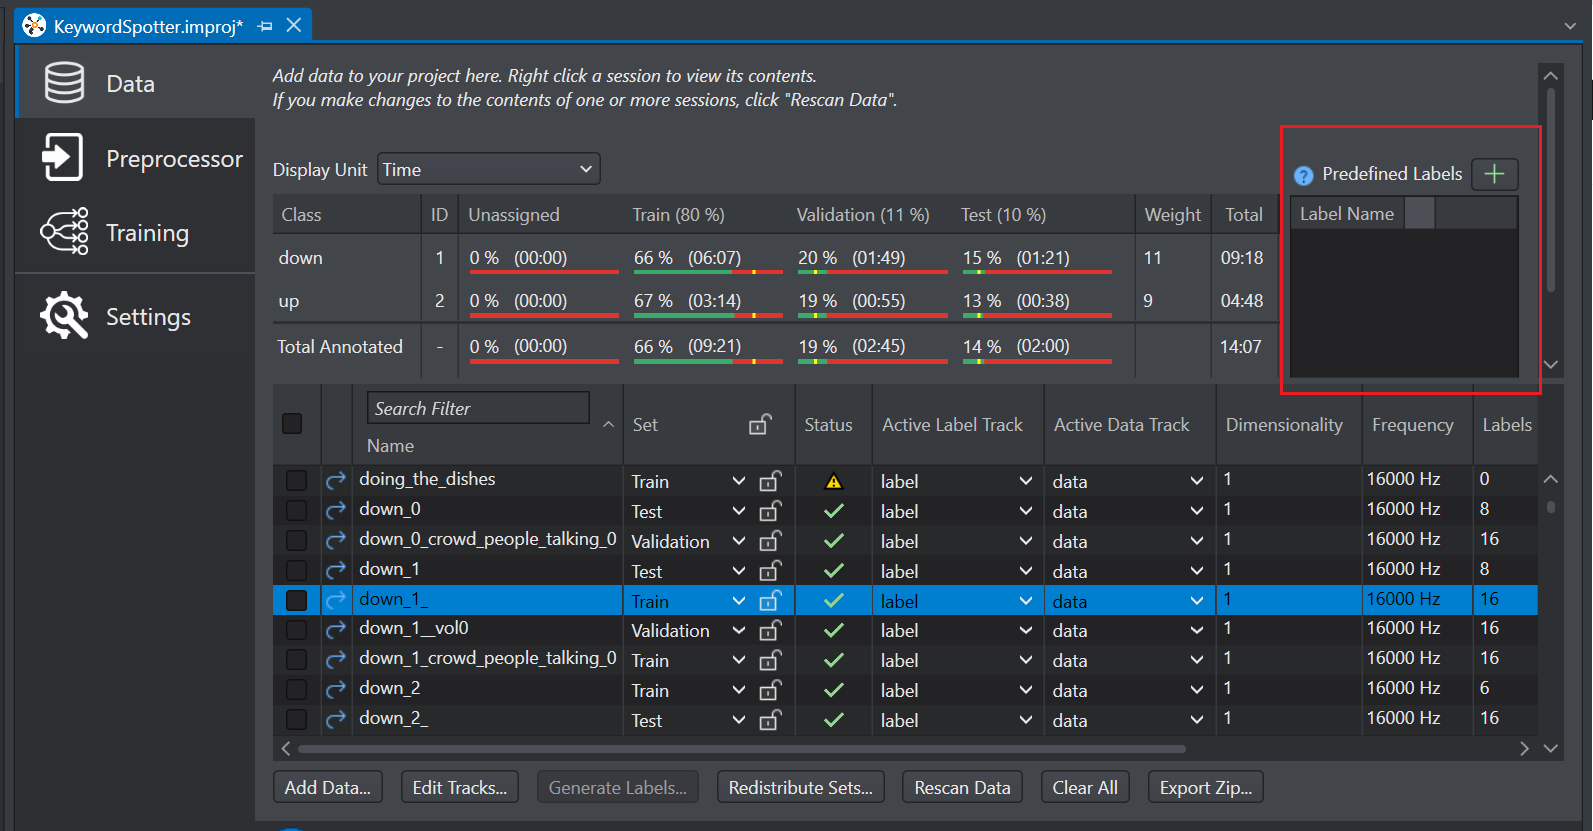
Navigate to the project directory and open the project file. The project file opens in a new tab. By default, the Data tab is selected.
-
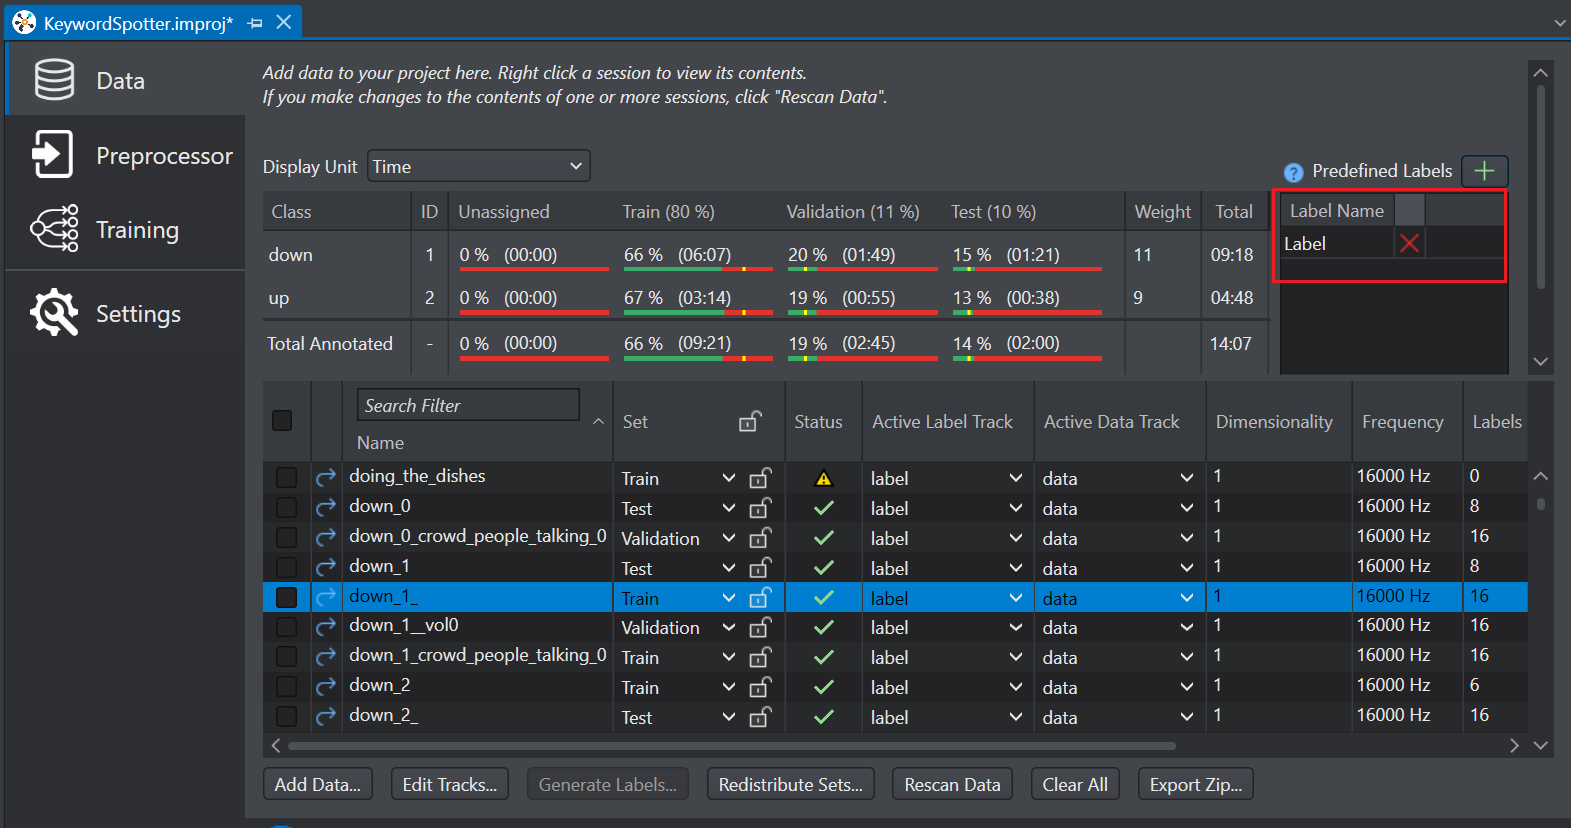
In the Predefined Labels tab, click the + (Add new label) to define the classes for that project. A new label is created in the under the Label Name column.
-
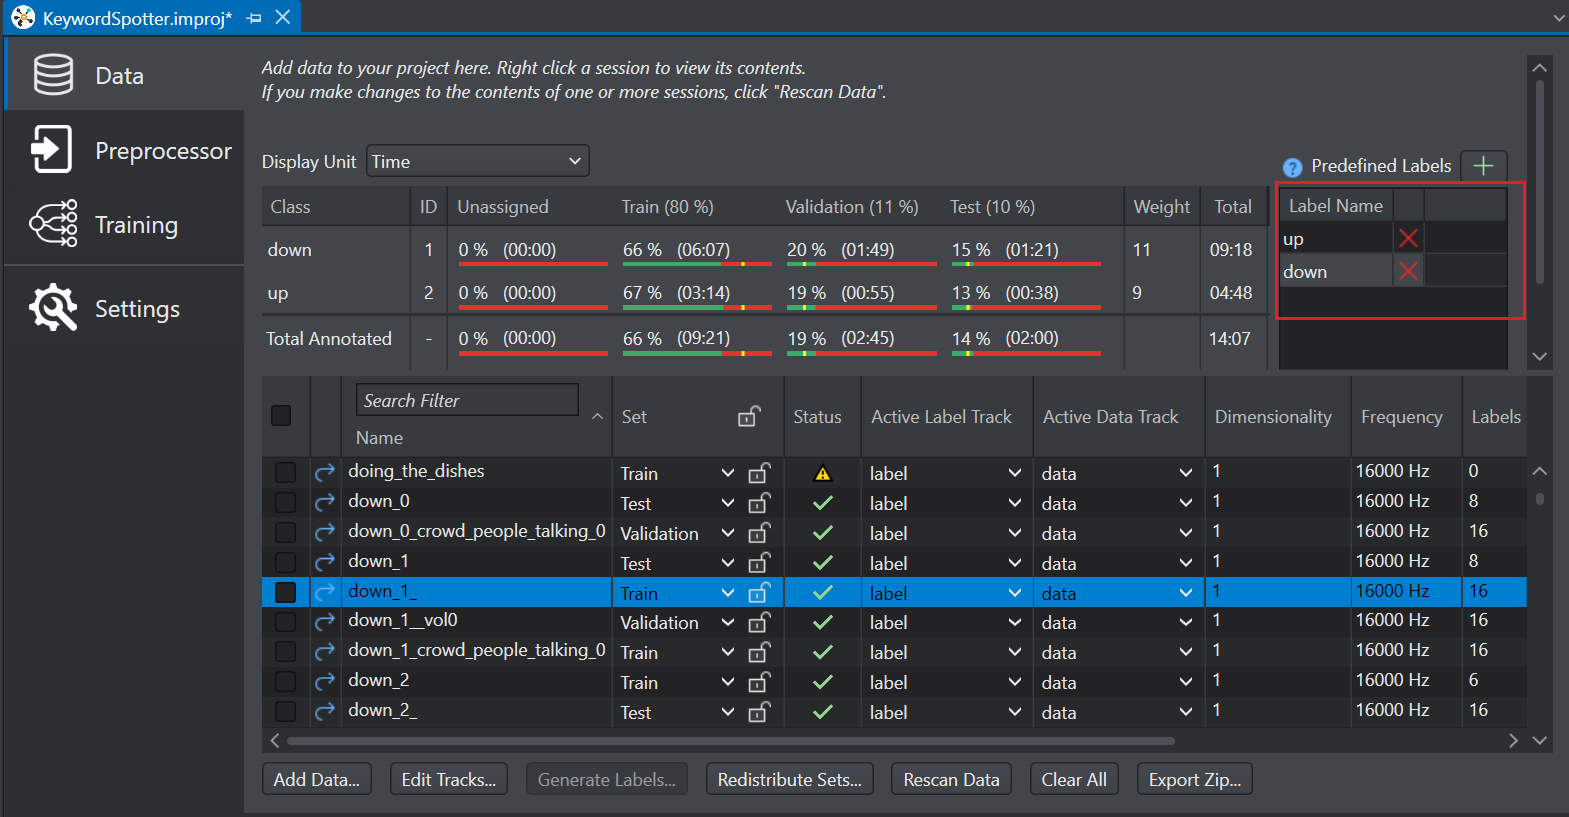
Double click the label to modify the label name as per your project. Similarly, add all the classes in the project.
-
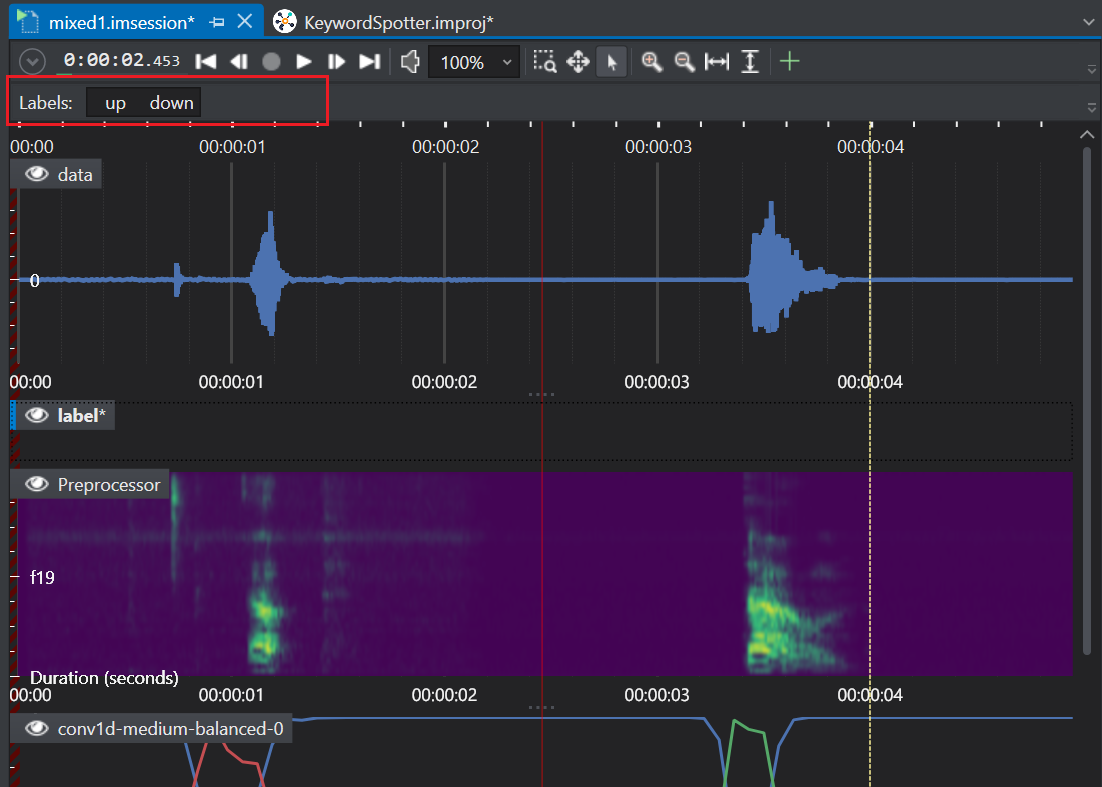
Double-click the session file listed in the project file to label the data. The session file opens in a new tab.
-
The pre-defined classes are displayed in the Labels bar.
-
Click a class in the Labels bar to enable that particular class. You can also use the keyboard shortcuts to enable or disable a class. The keyboard shortcuts for each class is displayed when hovering the move over that class in the Labels bar.

-
Move the cursor to the label track region, click and drag the mouse to select the part of the event you want to label. The label is added to the event automatically.
-
Simillarly, click the other classes in the Labels bar to enable the classes and label the event.
Make sure to open the session files from the project file to use the pre-defined labels functionality. This feature is not available, if you open the session file from the Workspace.