Local Model Training
Using DEEPCRAFT™ Studio, you can train machine learning models locally on your own PC or on a Linux-based server within your network. The server may be an on-premises machine, a virtual machine, or a cloud instance accessible via SSH. Local training supports containerized environments using Podman or Docker, allowing you to train models consistently across supported systems.
To enable Local Model Training feature, go to Tools > Options > Advanced and select the Enable Local Training checkbox.
Training Options
You can train models in one of the following ways:
- Local machine training: Runs the training process on your PC using Podman or Docker.
- Remote machine training: Runs the training process on a Linux-based server connected through SSH.
Both workflows use the same training pipeline, MLflow tracking options, output folder, and model evaluation process. The key difference is the environment in which the container runtime and training process are executed.
Starting Local Model Training
-
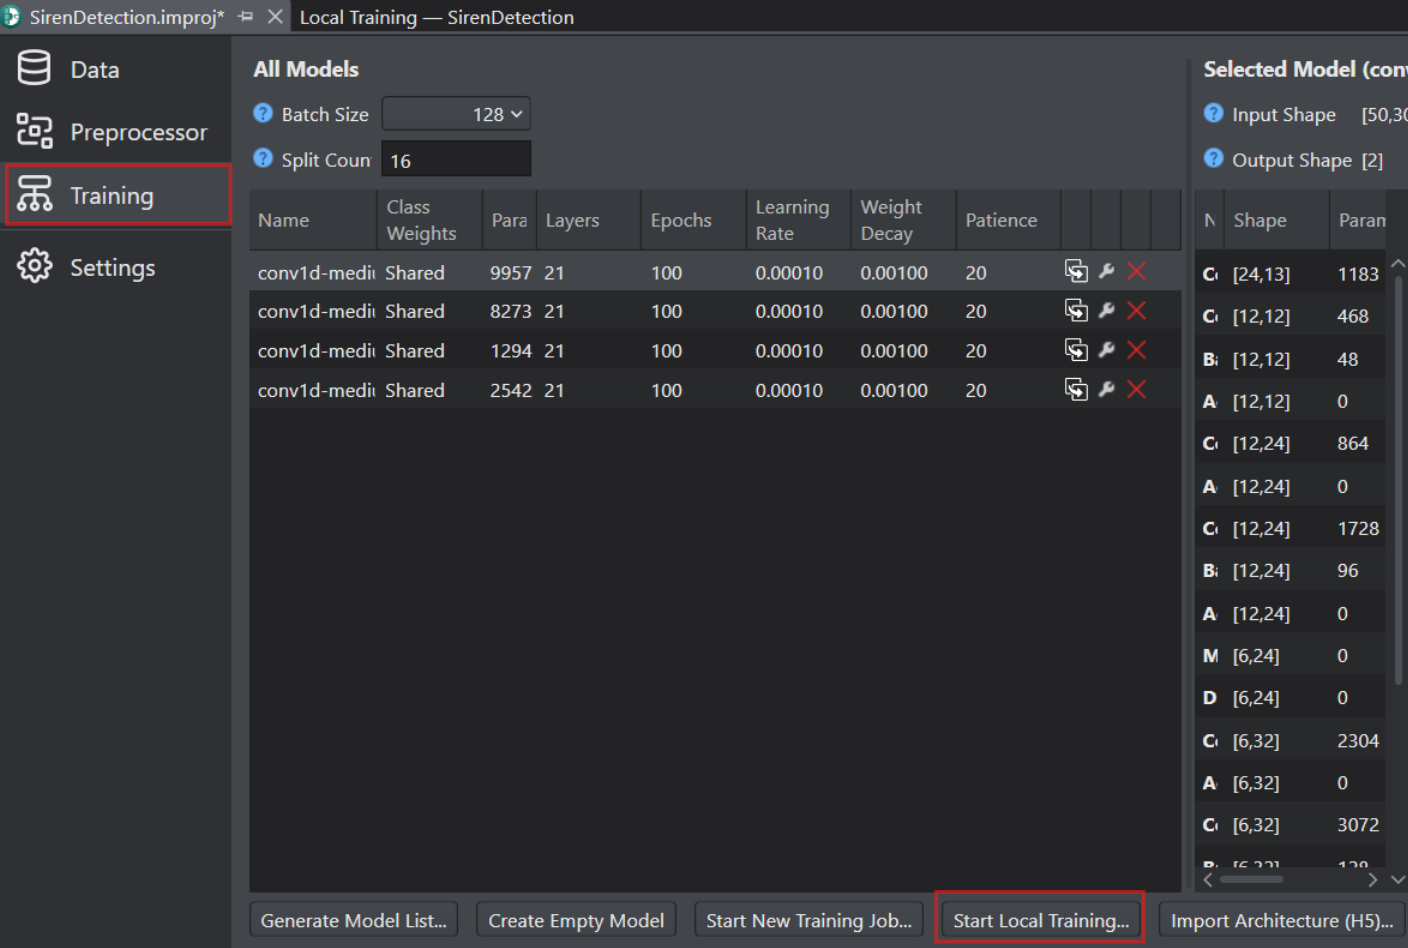
Open the project file (.improj) and click the Training tab on the left pane.
-
Click the Generate Model List button to open the Model Wizard window and generate the model list for training. Refer Generating model to know more about generating model.
-
Click the Start Local Training button to train the model locally.
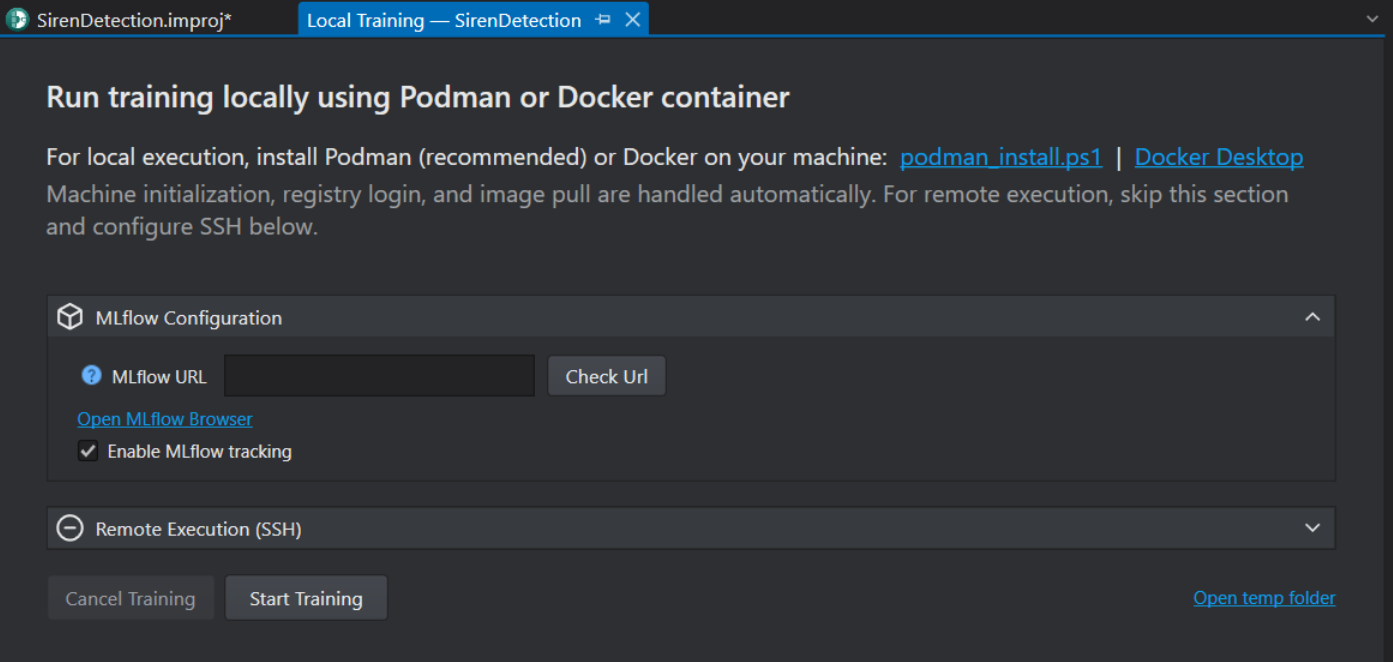
You can now choose to run the training on your local machine or on a remote server.
Training the model on Local Machine
Use this option when you want to run training directly on your PC.
Prerequisites:
- Install Container Runtime: Podman or Docker
- Set up the MLflow configuration to view the training statistics and results locally.
- Start the local training on your PC
Install Container Runtime: Podman or Docker
You can install either Podman or Docker, but we recommend using Podman. To install Docker, read the Install Docker Desktop on Windows guide. If you have already installed Podman or Docker, skip this step.
To install Podman follow the steps:
-
Click the podman_install.ps1 to download the PowerShell script to download the podman.
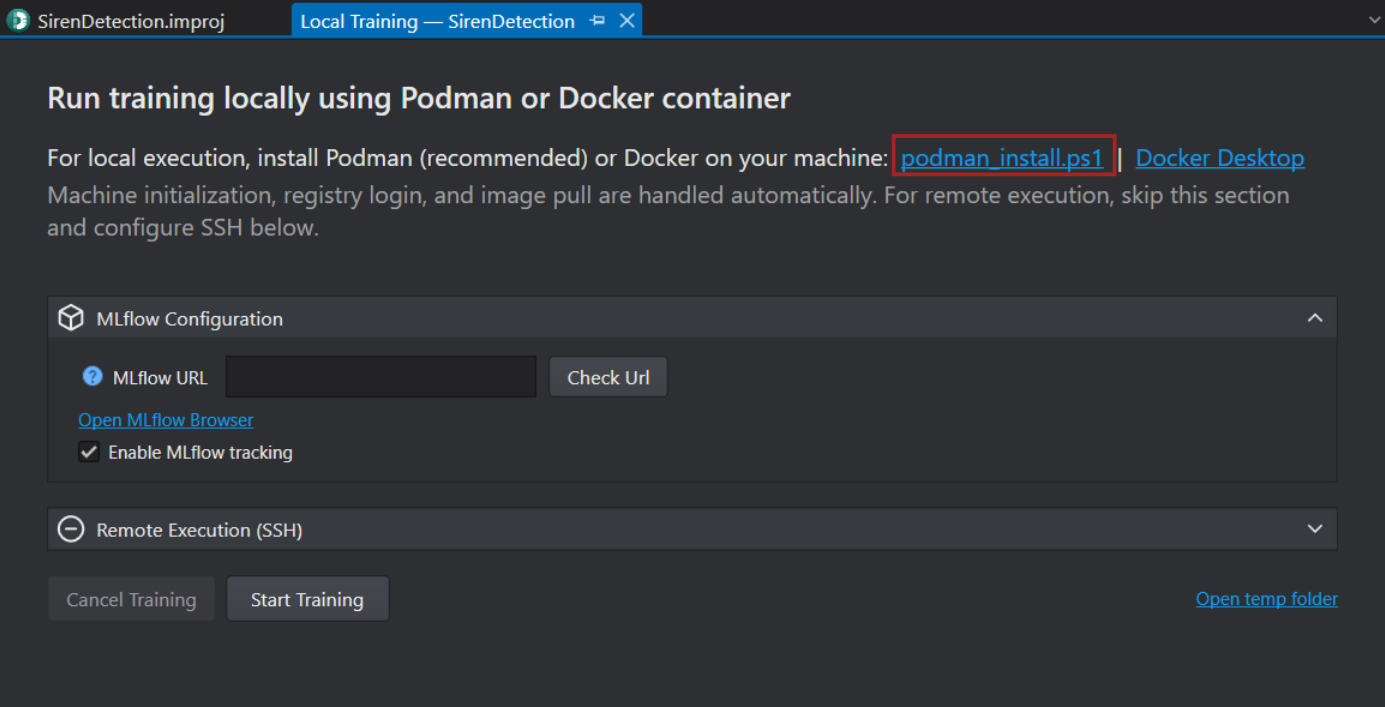
-
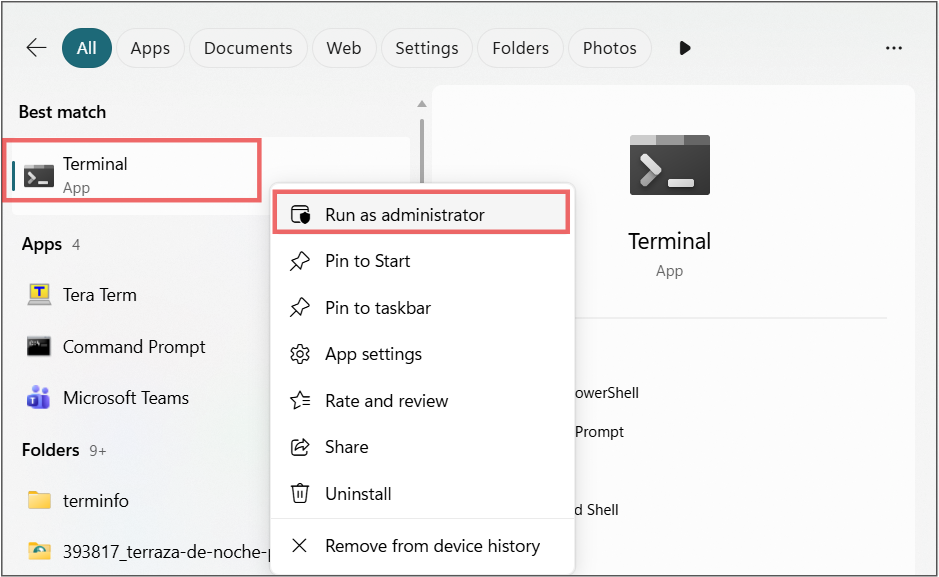
Open the terminal as an administrator.
-
In the terminal, navigate to the folder where you downloaded the script and install Podman by running the command: .\podman_install.ps1

-
Initialize and starting the machine and Login into the container registry to pulling the training container image are handled automatically. Podman is now installed on your PC.
Training the model on Remote Machine
Use this option when you want to run training on a Linux-based server connected through SSH. The remote machine can be an on-premises server, a virtual machine, or a cloud instance.
Prerequisites:
Before starting remote training, ensure that:
- An SSH connection is available between your local PC and the remote server.
- Podman or Docker is installed on the remote machine
- The remote machine has sufficient disk space for training data and output files.
- AWS CLI is configured on the remote machine if private ECR images are used.
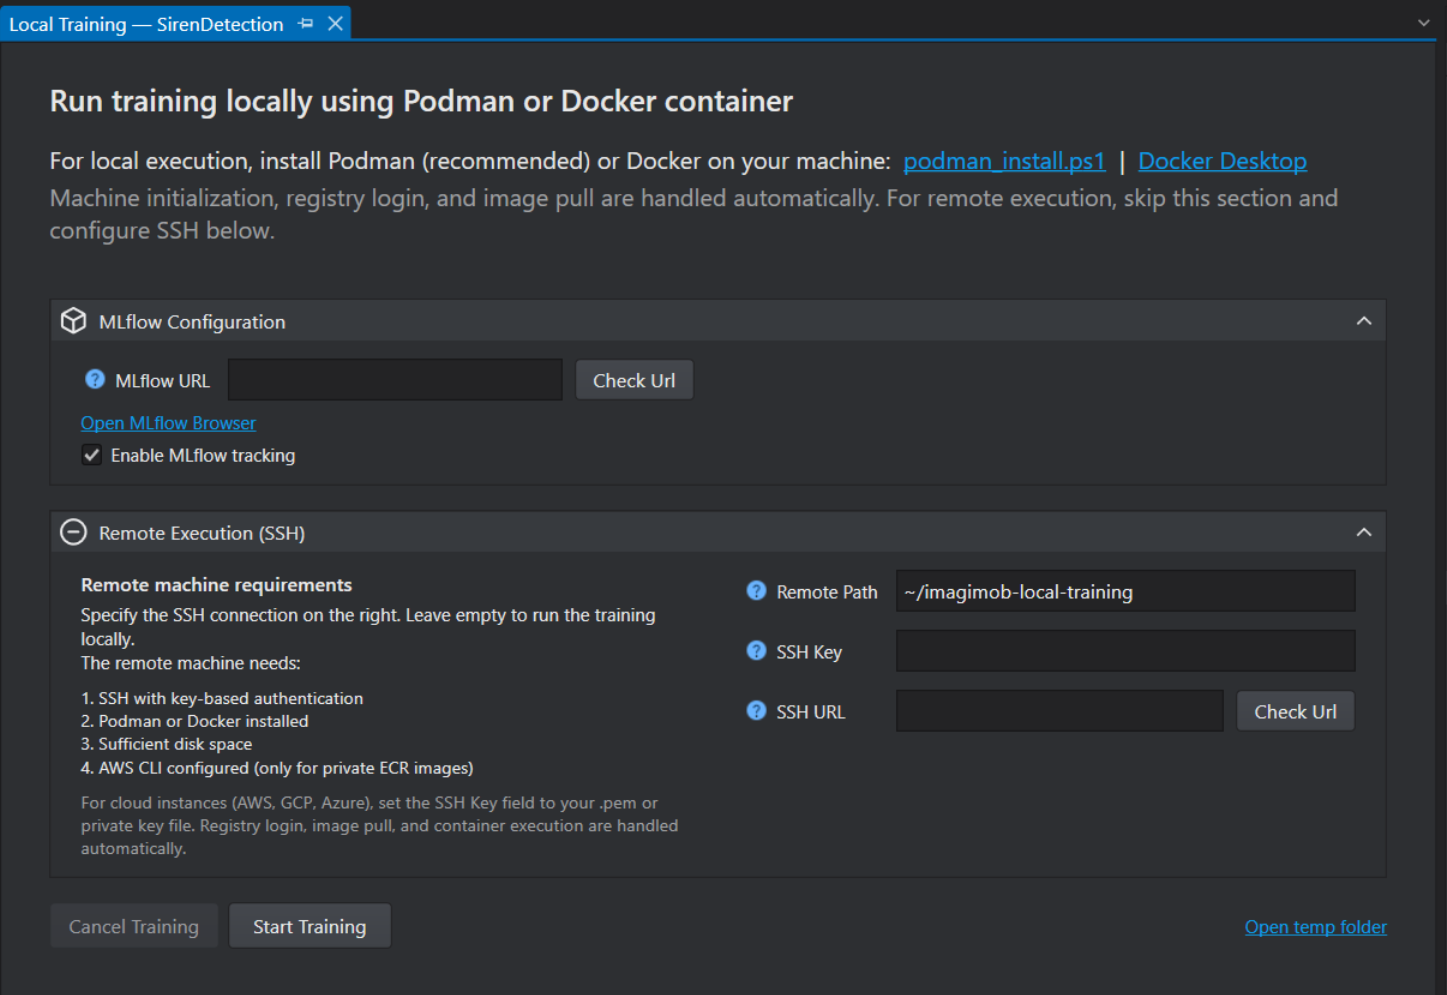
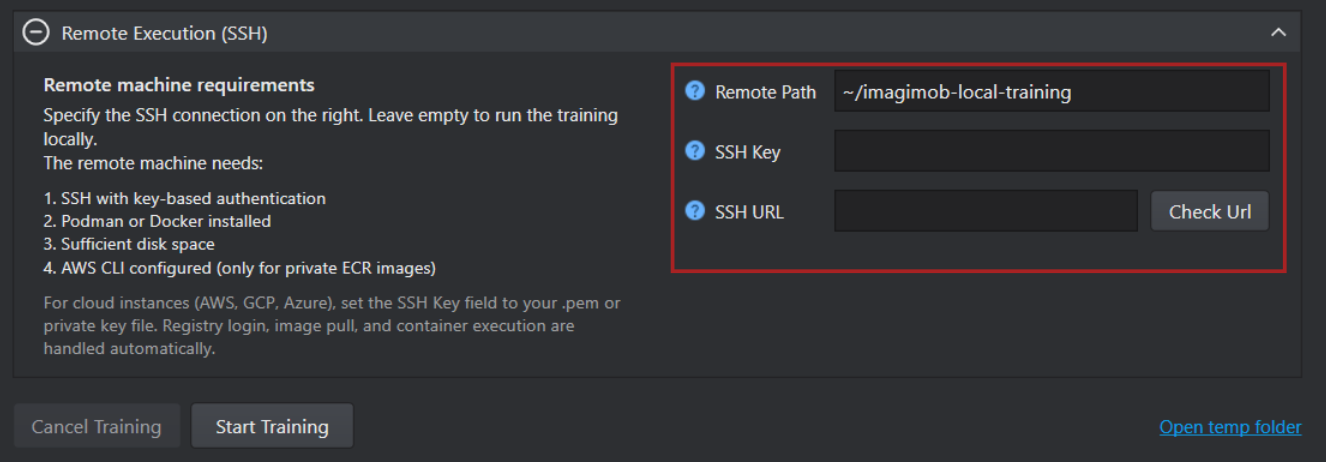
Remote Execution Configuration
Configure the following fields before starting training on a remote server:
After setting the prerequisites, configure the remote execution configuration to start the training on the remote server.
-
Remote Path: Enter the path where the training data should be saved on the remote server. By default, the training data is saved in
~Imagimob/local-training. -
SSH Key: If the
.pemfile is located in the\Users\xxx\.ssh\folder, leave the SSH Key Path field blank. If the.pemfile is stored in a different location, enter the full path in the SSH Key Path field. When left blank, the system will automatically detect supported SSH keys such asid_ed25519,id_ecdsa, orid_rsafrom the.sshfolder. -
SSH URL: Enter the SSH URL of the remote server. Click Check URL to verify the connection between the remote server and your local PC.
If you want to track training statistics and results, configure MLflow before starting the training job.
ML Flow Configuration
The MLflow configuration is used to track model training and view training statistics and results locally.

-
MLflow URL: If MLflow is already installed, enter the MLflow URL and click Check URL to verify the url. If MLflow is not installed, enable MLflow Tracking and leave the URL field empty. The system will run MLflow locally at
localhost:5000. -
Enable MLflow Tracking: Select this checkbox to use MLflow for viewing training statistics and results locally.
After downloading the runtime container and setting up the MLflow configuration, you can start the training on your local machine. Refer Start the Training Job to know more about starting the training job.
Start the Training Job
-
Click the Start Training button to begin training locally. The pipeline will run through several stages, including validating the project files, initializing and detecting the container, starting the ML server, and starting the training process. You can monitor the status of each stage in the Pipeline Progress window.
-
After the training is complete, click the Open Output Folder button to open the folder where the trained models are placed locally. The trained models and preprocessing files are saved in the training folder.
-
Click the Copy to Workspace button to copy the trained models and other files to your workspace. and evaluate the models using MLflow
Evaluate the models using MLflow
-
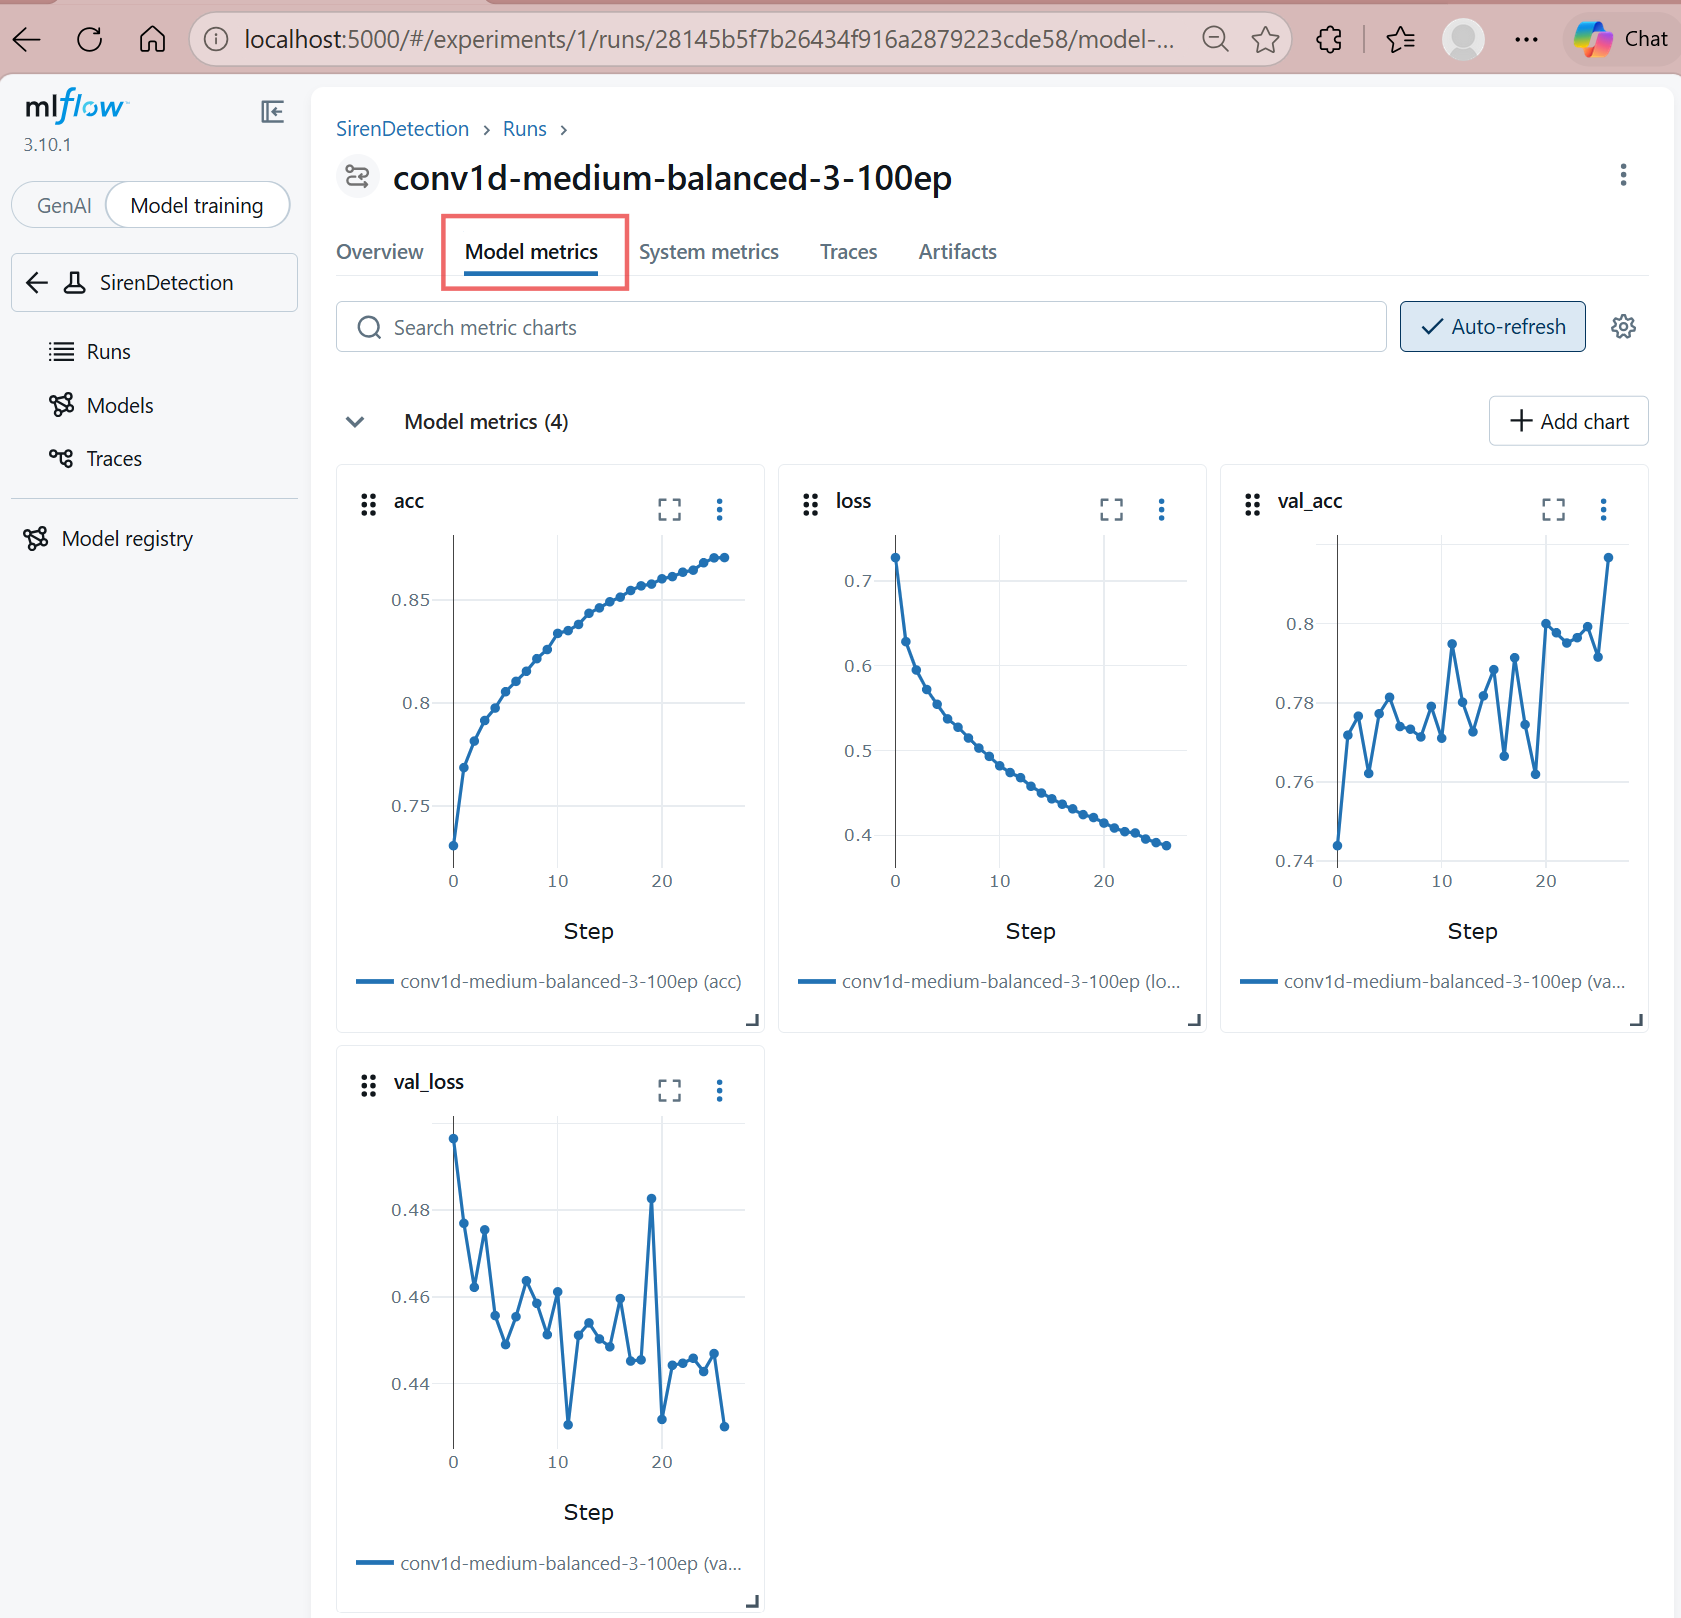
Click Open MLflow Browser to view the model statistics in the MLflow UI.
-
Go to Runs and search for your project. The project will display all trained models. Open the run for the trained model you want to evaluate.
-
Under Model Metrics, review key metrics such as accuracy, loss, validation accuracy, and validation loss. You can review the statistics for each trained model, compare their performance, and select the best-performing model.
After copying the models to the workspace, refer to the relevant evaluation section based on your model type, such as classification, regression, or object detection. After evaluating the model, refer to the code generation section to generate code for deployment.